When diving in Bonaire we would often spend time on a stone peer in front of our lodging between our morning and afternoon dives. I noticed these small crabs working their way through the rocks looking for food. Since a shot looking down at them didn’t seem very appealing, I laid on my stomach to get at their eye level. Then I positioned myself so I could zoom in as close as possible to the crab.
Month: April 2020
Tip #27. Learn animal behavior
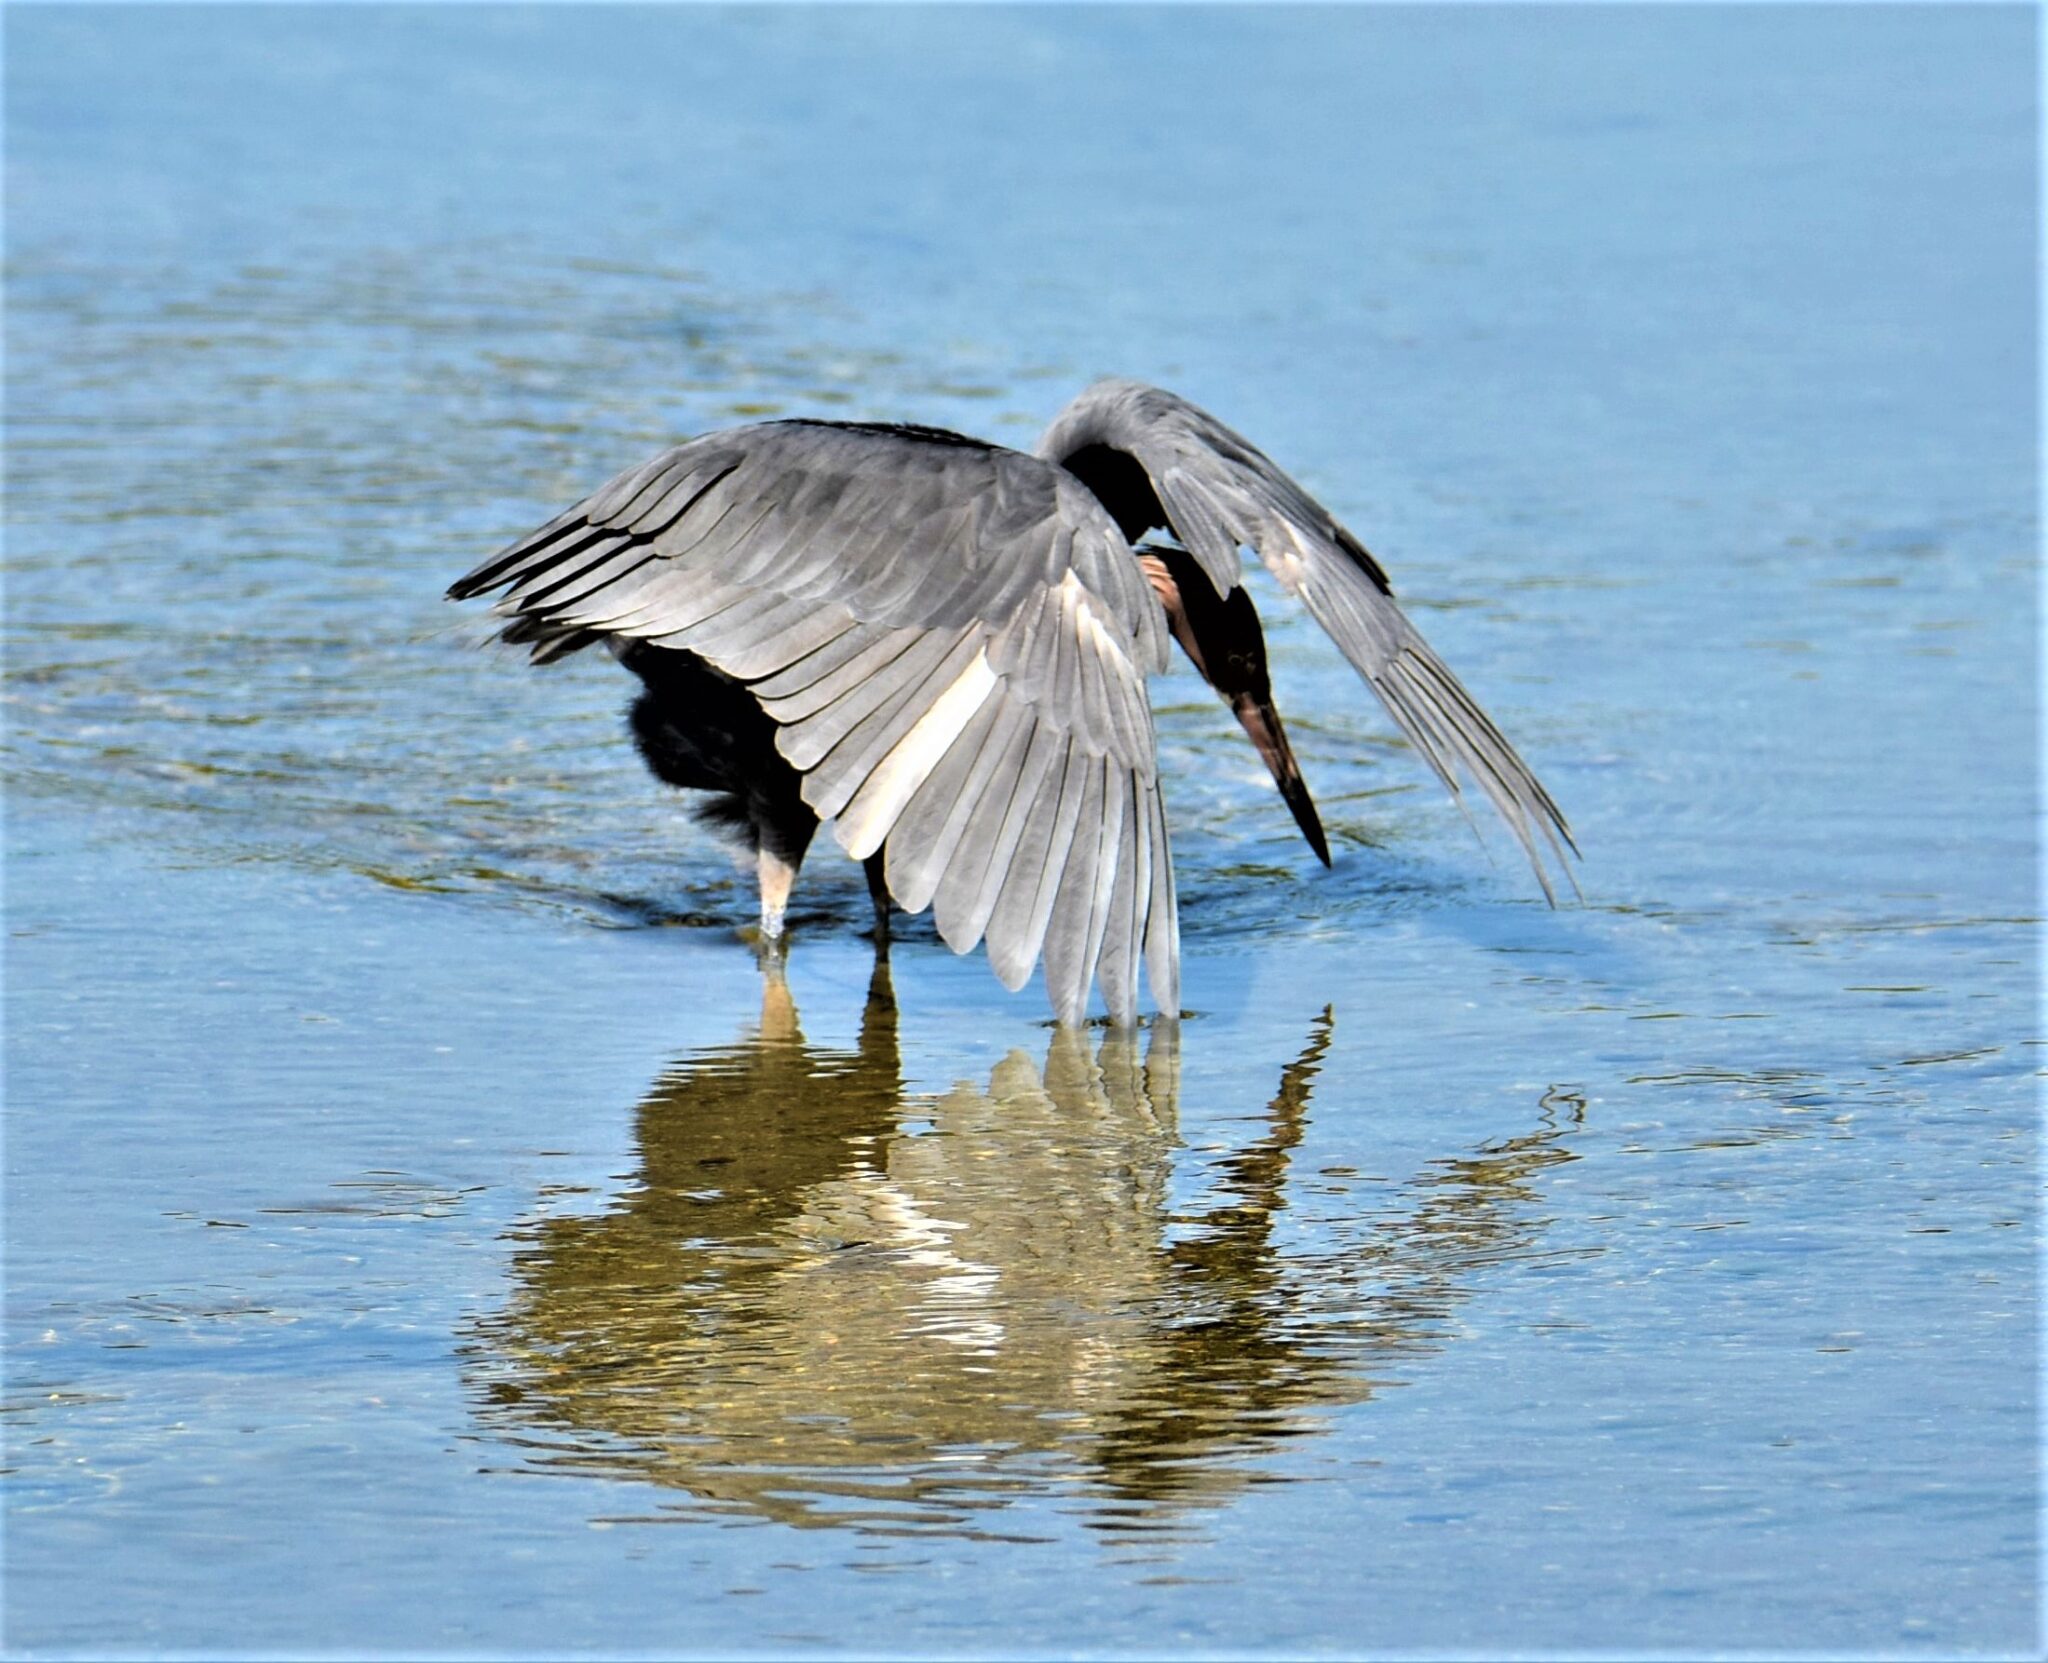
When not in the field photographing, I love to watch National Geographic specials or view YouTube videos on photography and wildlife. In one video, I watched with fascination as they showed how a bird will use its wings to create a canopy to take the glare off of water when fishing. The shading behavior works much the same as a person wearing sunglasses to better see below the surface. I’ve never seen that behavior in Iowa, but when in SW Florida, I saw this Reddish Egret spread its wings to create shade so it could see its prey more easily in the water. I’ve also read that fish will swim under the egret attracted by the patch of shade. Had I not seen this behavior, I would have totally missed what was happening. This was photographed at San Carlos Bay – Bunche Beach Preserve, Fort Myers, Florida.
Tip #26. Create your own opportunities
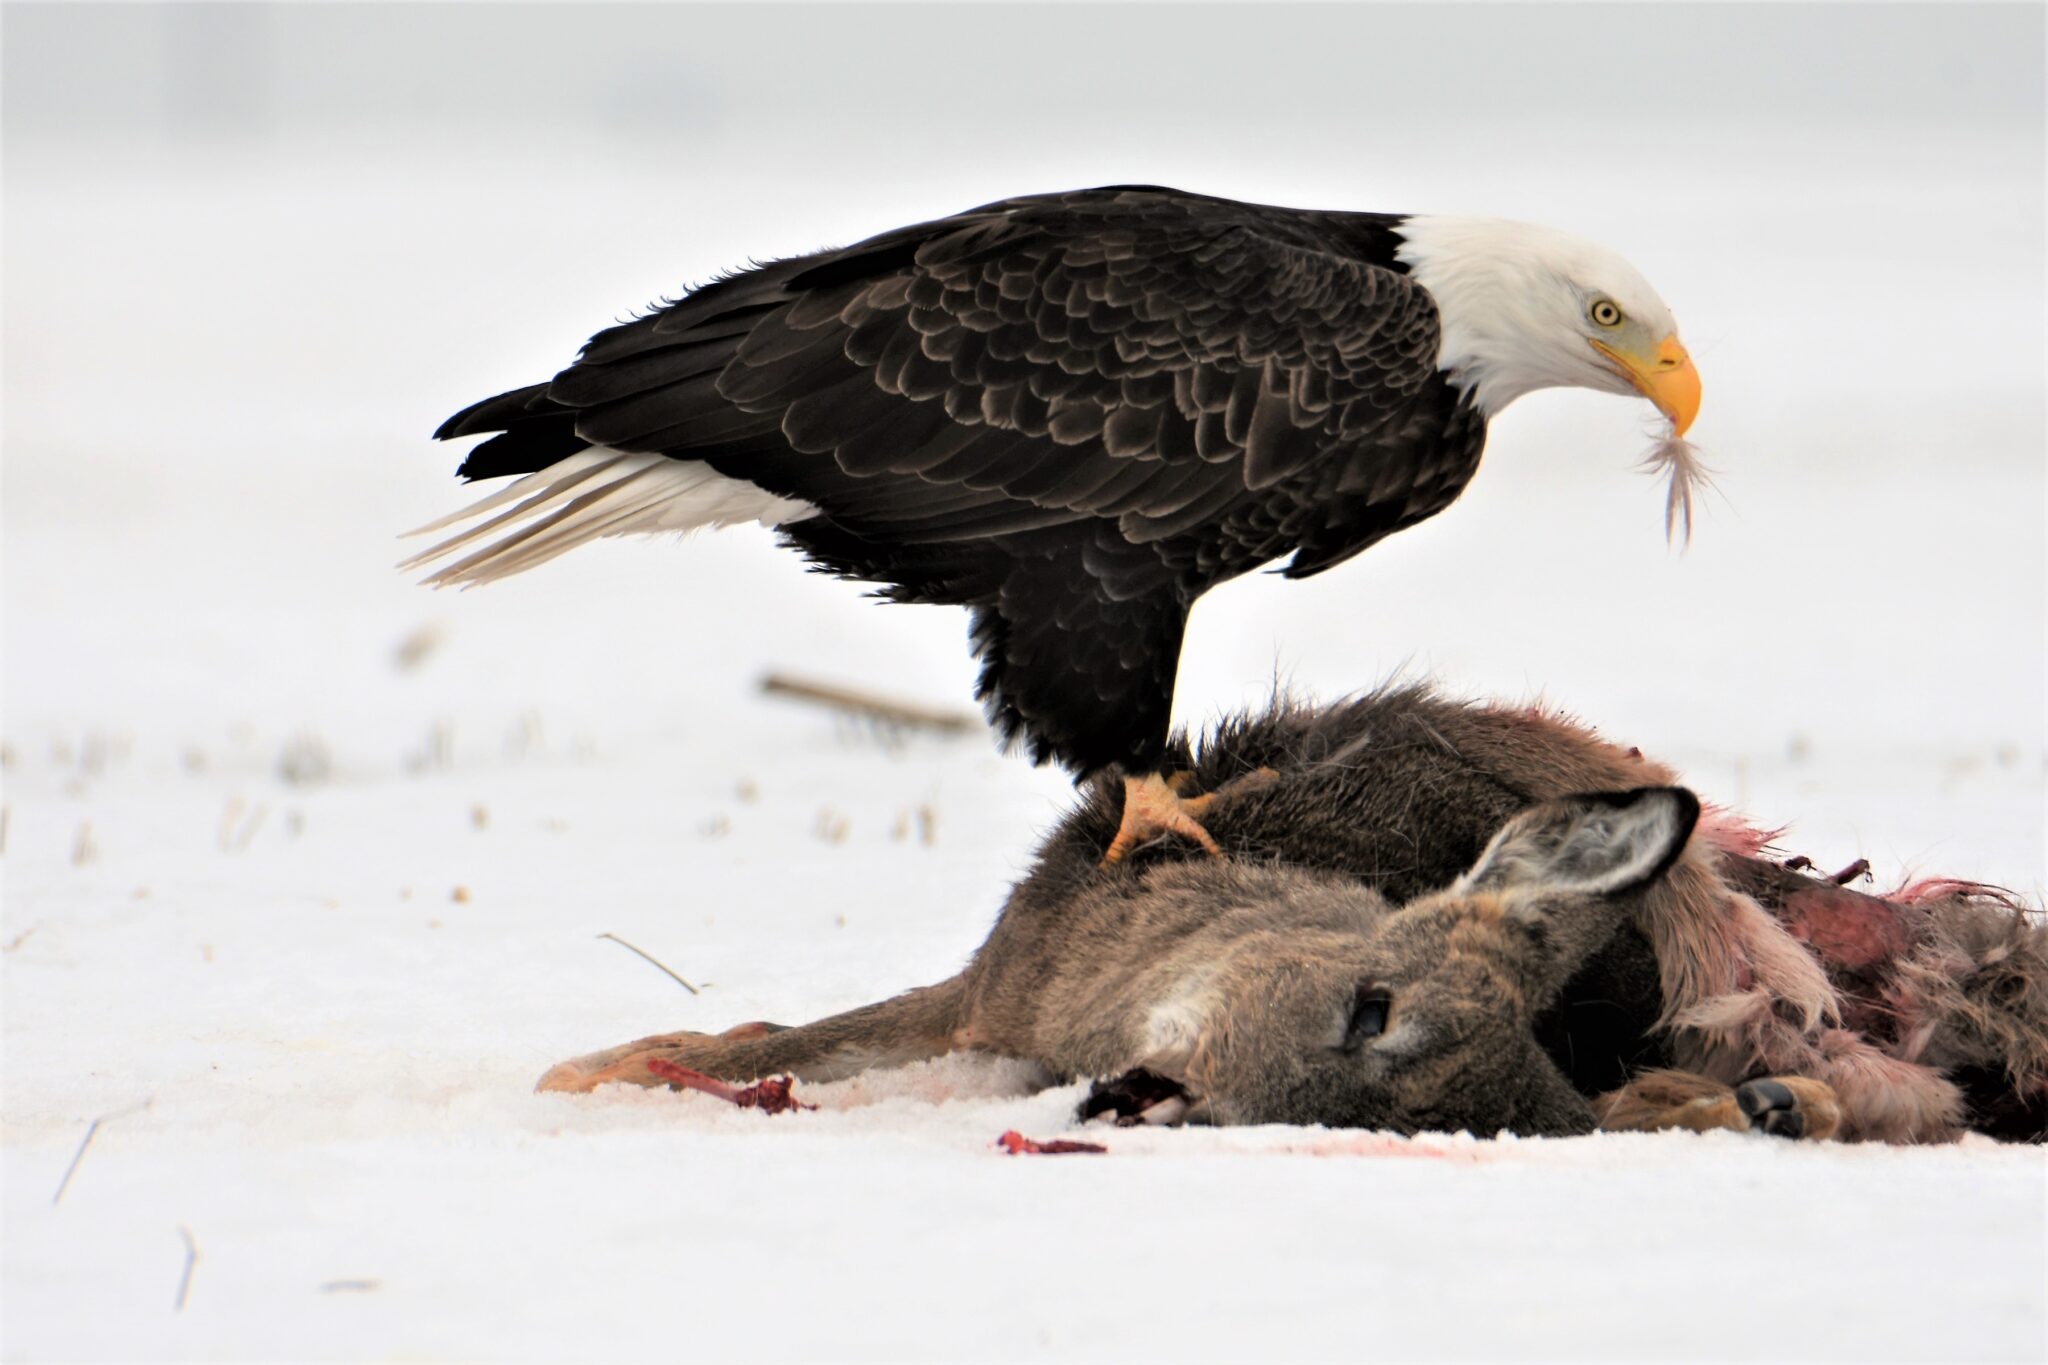
No good deed goes unpunished? Well sometimes a good deed pays off handsomely. A few miles from our home in central Iowa is R16, a hard-paved road that gets more and more traffic every day. Last winter I was following a northbound pickup on R16, when I noted something quite large on the shoulder of the road. The pickup came to within five feet of the object. When I got closer, I realized it was an eagle feeding on a fresh deer carcass. Knowing it was only a matter of time before the eagle was hit by a passing vehicle, I pulled over and drug the deer into the ditch. I tried to drag it up the opposite ditch embankment, but the slope was too steep. I went home, grabbed a long rope, returned to the carcass, tied the rope to the deer’s front feet, and drug it up the ditch side and 75 feet onto the adjoining field. Luckily there was an approach about 100 feet from the relocated carcass. The next day I saw an eagle feeding on the carcass. I pulled into the approach and photographed him (or her) for about half an hour. I knew if I got out of the car I would have scared him off, so my car made the perfect blind. For the shots, I used my Nikon D7200, Tamron 150-600 zoom, and a bean bag on the window sill of my car. The bean bag works great for camera/long lens support, and I carry it with me at all times.
Tip #25. Know your subject
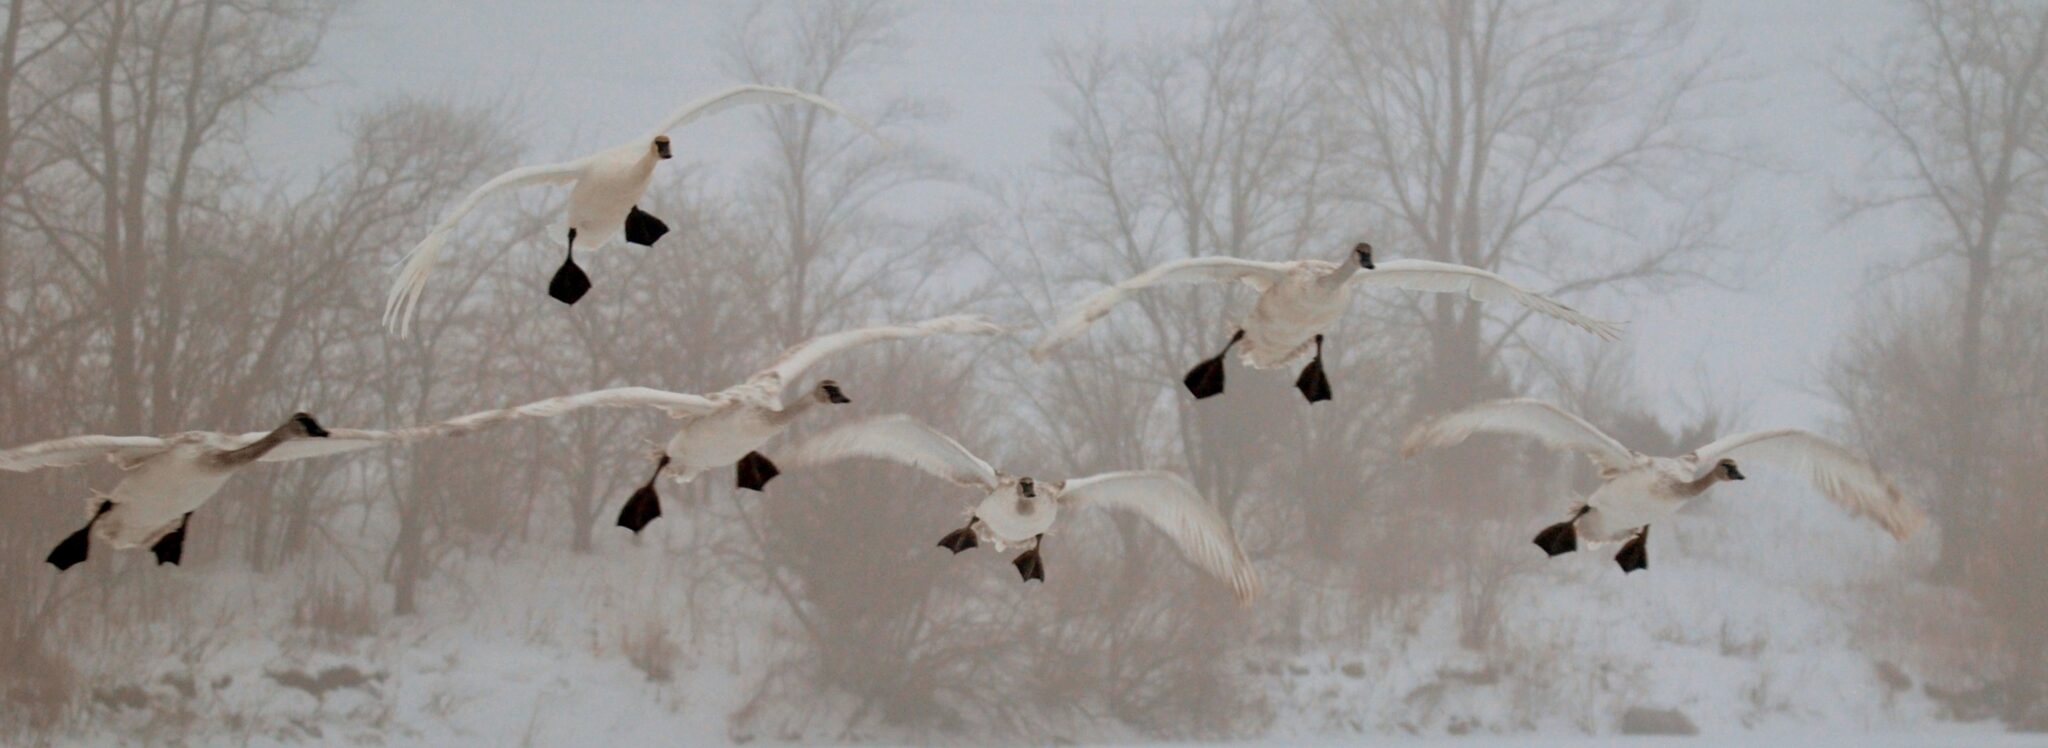
Beemer’s Pond, a borrow pit pond just west of Webster City, Iowa, has the largest concentration of Trumpeter Swans in Iowa in the winter. The rectangular pond is approximately 20 acres in size, and more than 200 swans winter there each year. Several aerators are located at the south end of the pond and keep a small patch of water open throughout the winter. It is this open water that acts as a magnet to the swans. A few years back, I made my first trip to this Iowa treasure. Not knowing Trumpeter Swan winter behavior, I arrived about 2:30pm on a January day with the temperature just above freezing. When I arrived, there were hundreds of ducks and geese in the open water and on the surrounding ice. Unfortunately, there were only a handful of swans. I set up on the east side of the pond in the fence row and waited, and waited, and waited some more. About 5pm I was froze to bone, in a fowl mood (odd pun), and ready to call it quits. The air was heavy with moisture and visibility had become about 200 feet. Just as I started to take my camera off the tripod head, I heard the unmistakable honking of swan overhead. In the winter fog I could not see them, but could somewhat follow their honking. The swans came from the east where they had been out feeding, flew over the pond, and then landed on the pond facing east. Luckily, I was able to grab a few images of them coming out of the fog, as they landed into the wind and facing me. Five minutes later the light was so bad I had to call it a day. Now, when I go back there to shoot, I set up about 4pm, and wait for them to come back to the pond. Had I known their feeding habits, I could have timed my first shoot there much differently. Now, I do as much research as I can before visiting an area to learn what the animal’s behaviors are to better time my photography. This is one of my favorite photos and is a good inspiration to me to be patient.
Tip #24. Working with the wind
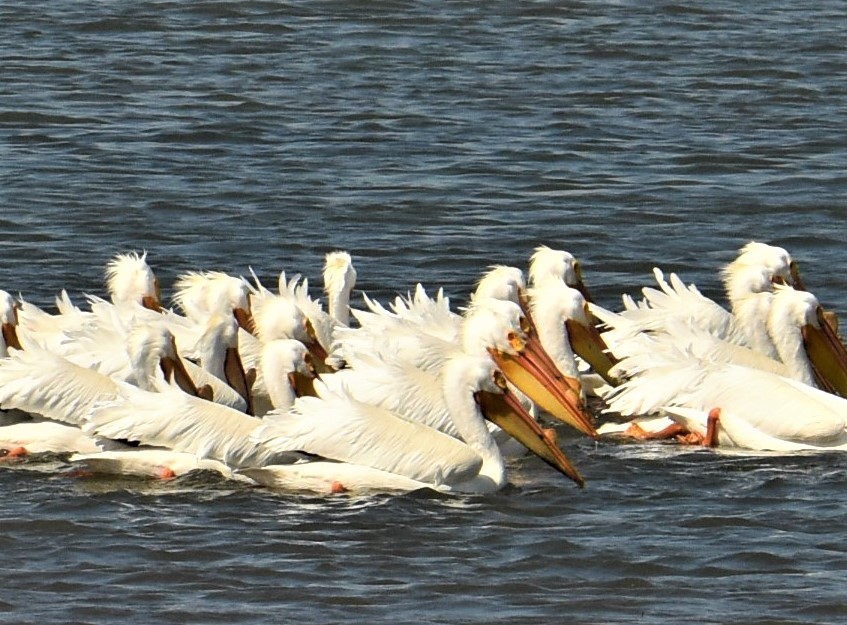
Although light is extremely critical for a good image, sometimes the wind can be beneficial as well. When arriving at a wildlife photo location, I often throw some grass or other foliage into the air to see which way the wind is blowing. Since birds land into the wind, I try to position myself upwind from them so I can photograph their heads, rather than their butts, as they take off or land. Unfortunately, that is not always possible. I was watching a pod of pelicans feeding on a fairly windy day when I noticed that when they turned from going into the wind into going away from it, the wind literally ruffled their feathers. The ruffled feathers provided some interesting texture to the image which was not there when the same pod turning in to the wind. If you’ve never watched pelicans feed, it is quite interesting. Pelicans often group together to feed when they are near shore. They drive schools of small fish into the shallows and then in unison they dive or “tip over” with their butts in the air, scooping up the fish in their fleshy throat pouches.
Tip #23. First light
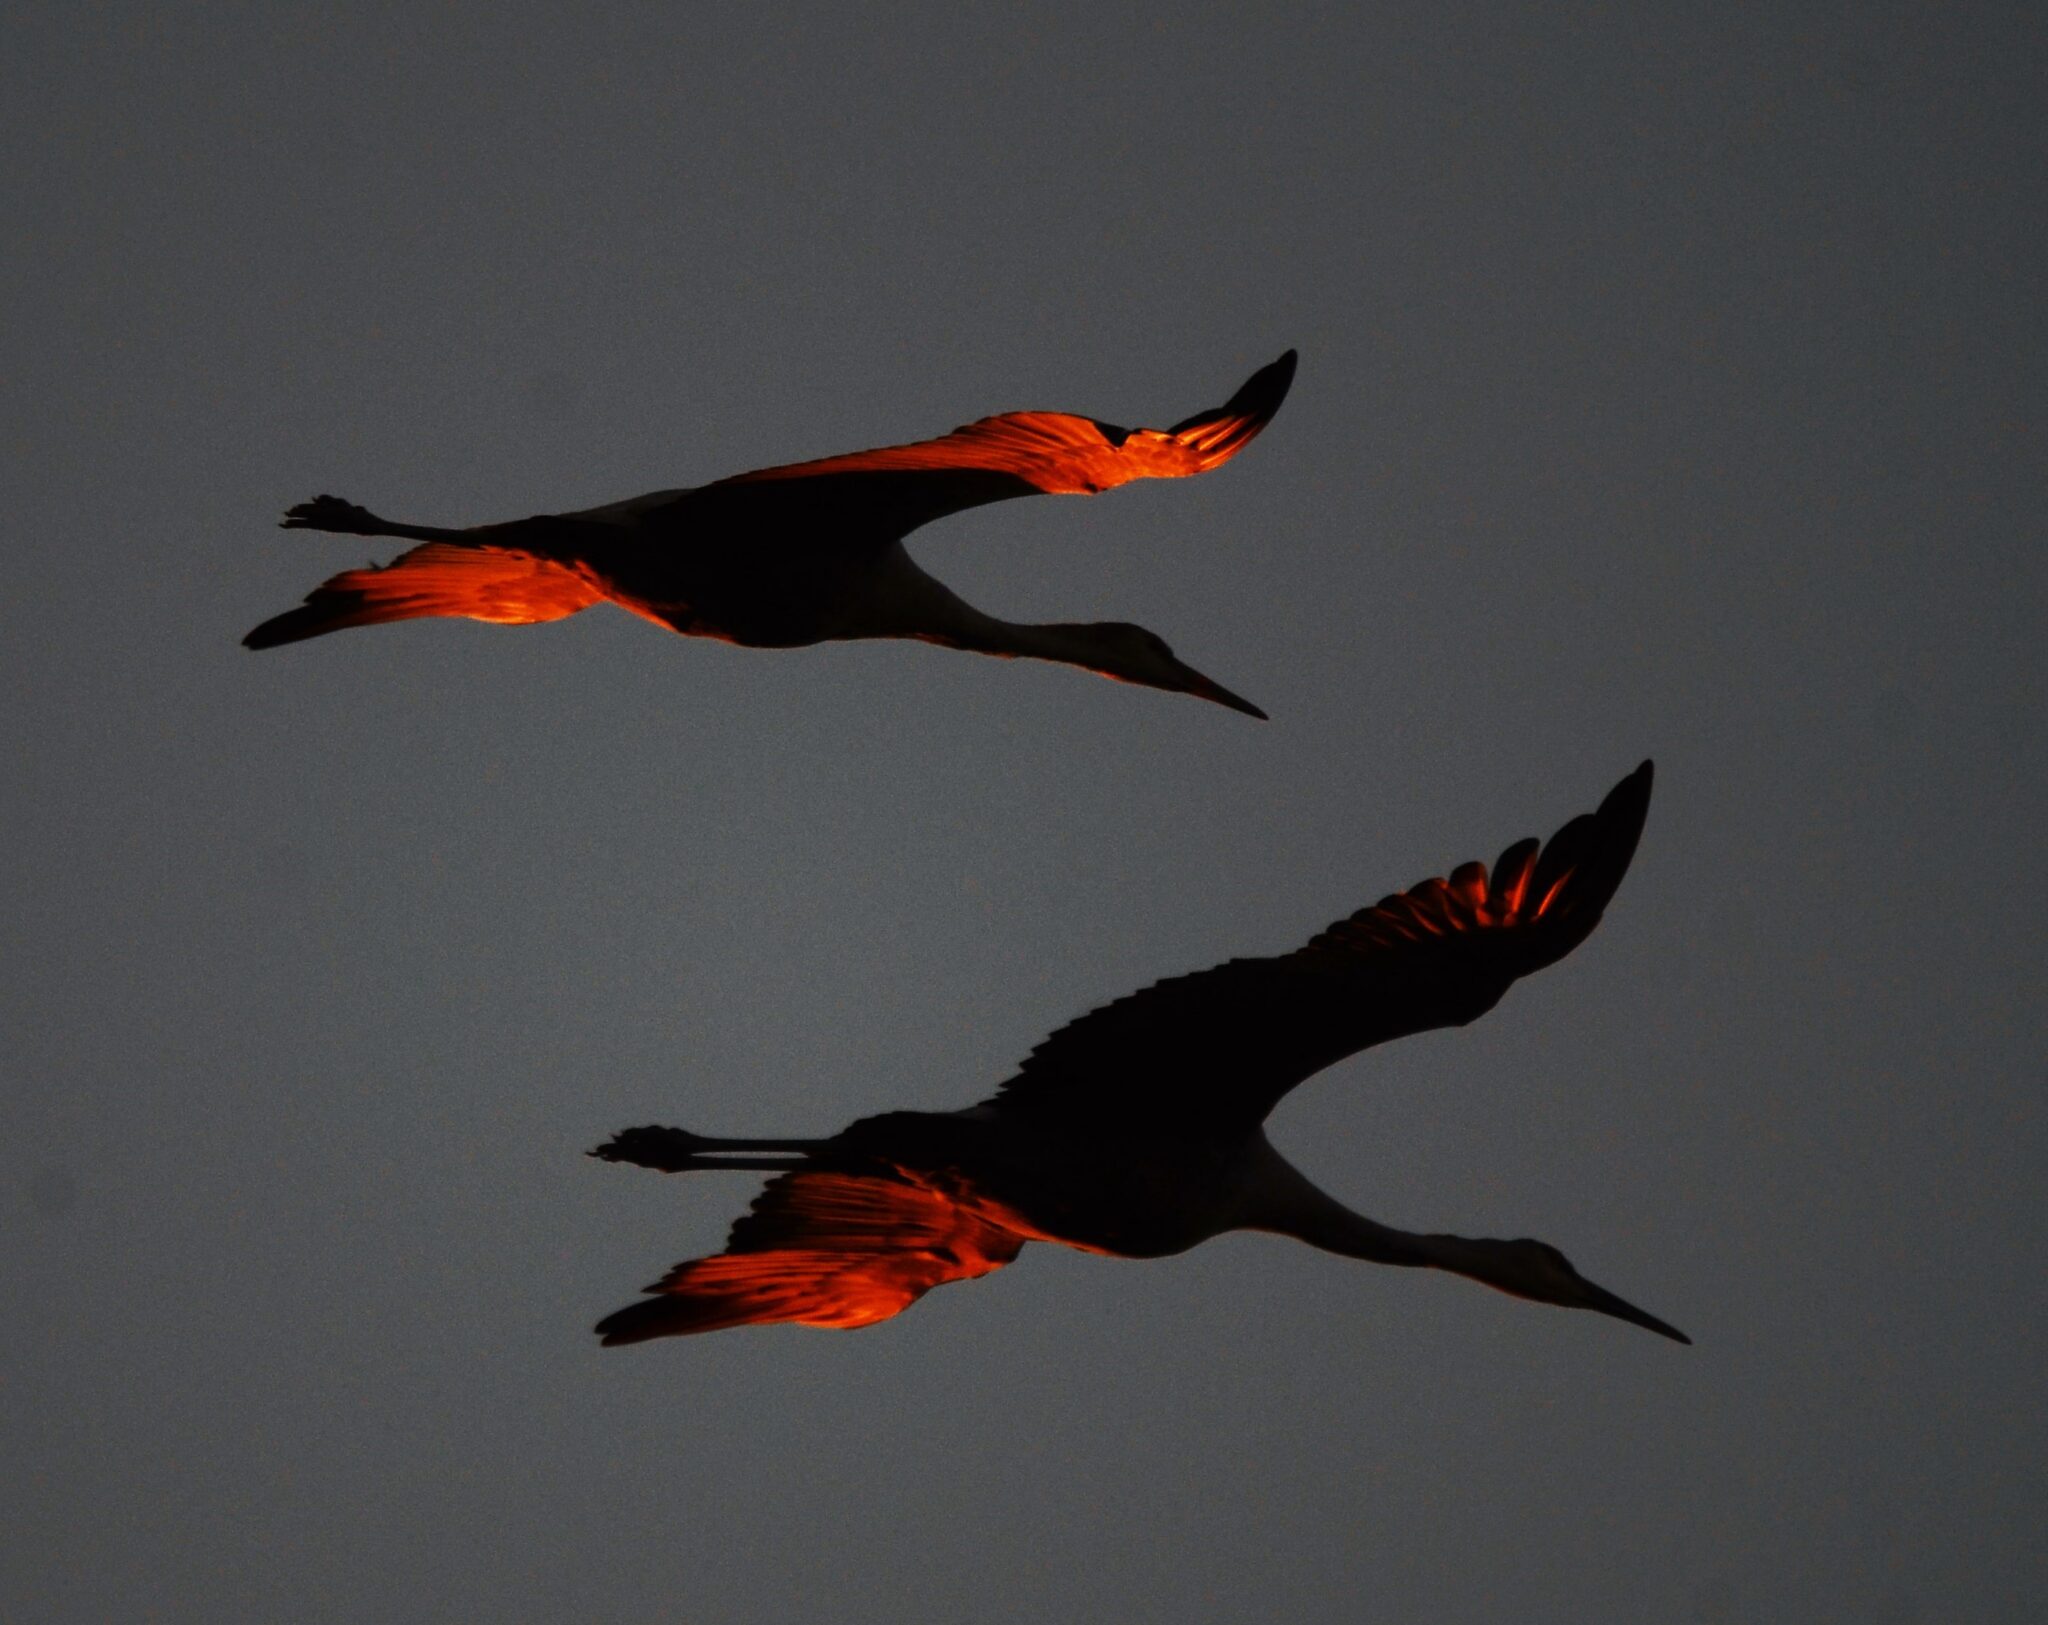
For reference, please see Tip #22 to view an image photographed less than five minutes prior to this one. As direct light from the sun slowly comes across the horizon, you have but a few minutes to get an image where the bottom of a bird’s wings are lit. This phenomenon is very short lived and I was lucky enough to have Sandhill Cranes flying near me For this image I was positioned in a ditch next to a slough in Crex Meadows State Wildlife Area near Grantsburg, Wisconsin. Since I took this image a few years ago, I have tried to recreate it to no avail. In order to duplicate this shot, I need to find birds flying precisely at the right time and the right height. This might be that one-in-a-million shots.
Tip #22. Shooting before the morning golden hour
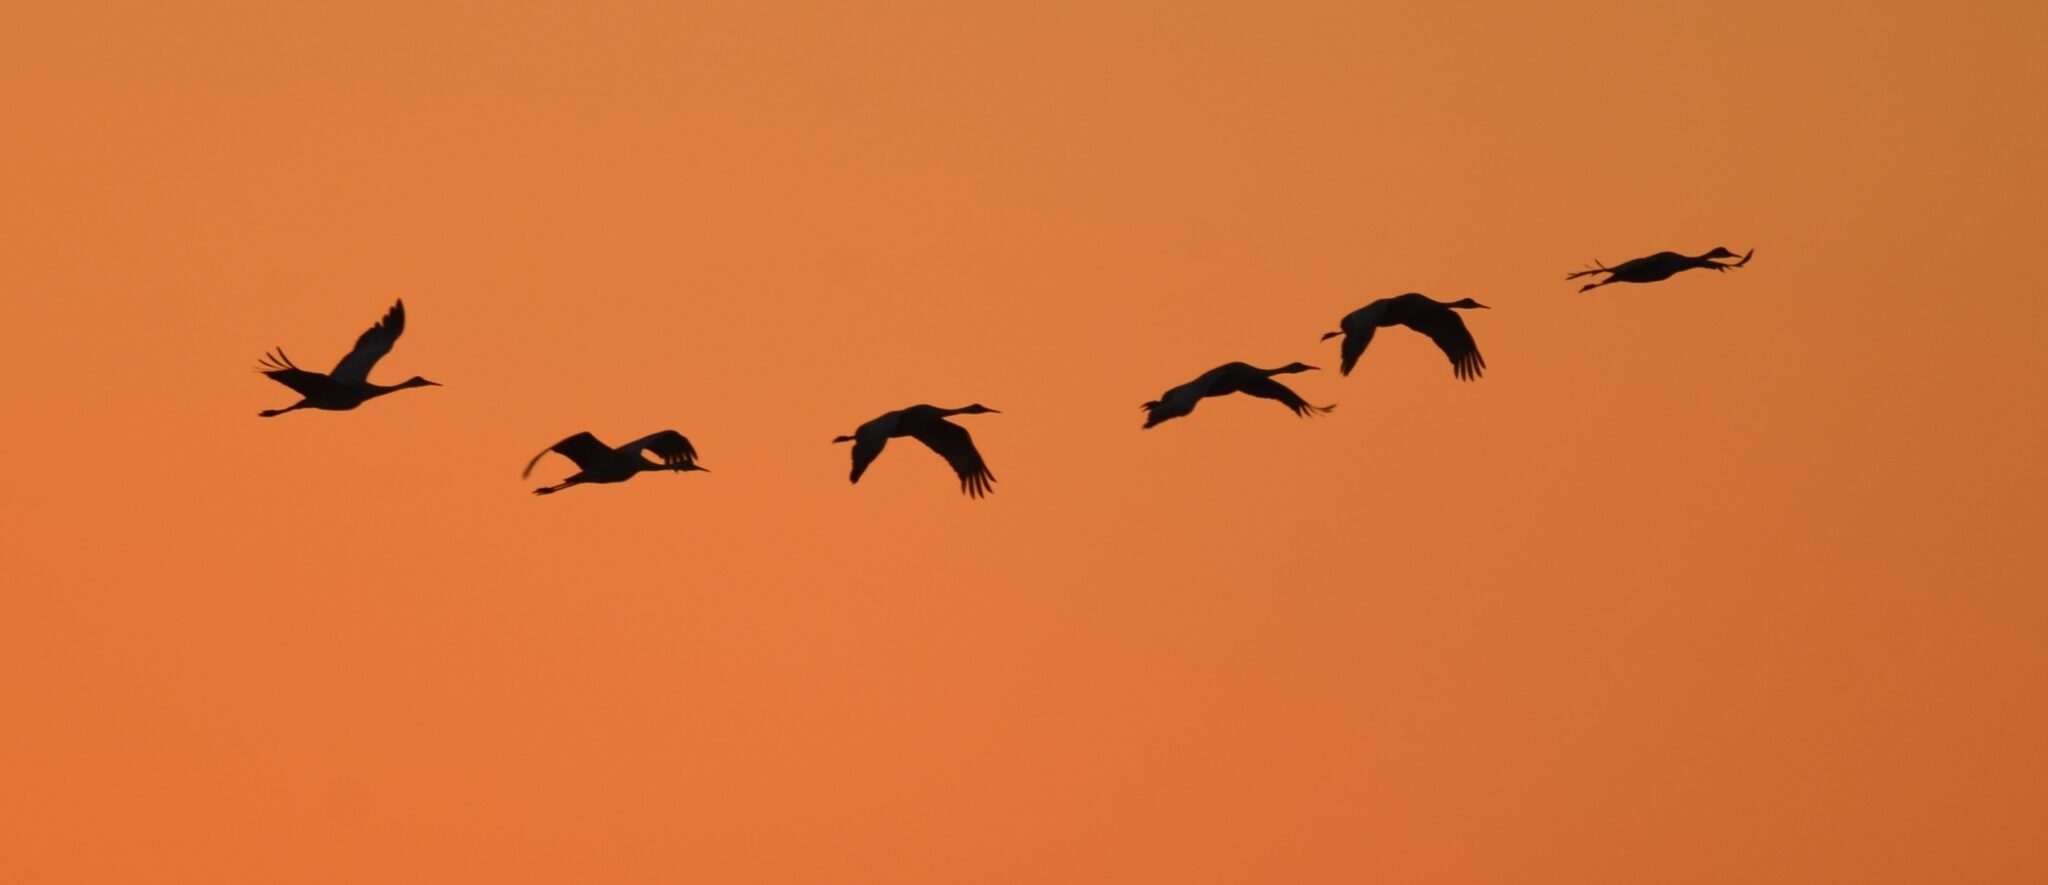
To maximize the great light of the golden hour, normally the hour after sunrise and the hour before sunset, you have to be in position ahead of the time to get everything set up. Often times I will be at the desired location at least a half hour before the golden hour. For this image, I was positioned in a ditch next to a slough in Crex Meadows State Wildlife Area near Grantsburg, Wisconsin. I was at a bit of a disadvantage as the Sandhill Cranes were to the east of me, forcing me to shoot somewhat into the rising sun. Before the sun rose over the horizon, I noticed the eastern sky turn this incredible golden orange. Luckily some of the cranes were leaving the slough they spent the night on to fly over the road to an area to feed at. Being in position early and the the predawn sky allowed me to get several silhouette images. Five minutes later the sky lost this color and turned to dull gray.
Tip #21. Animal portrait shots
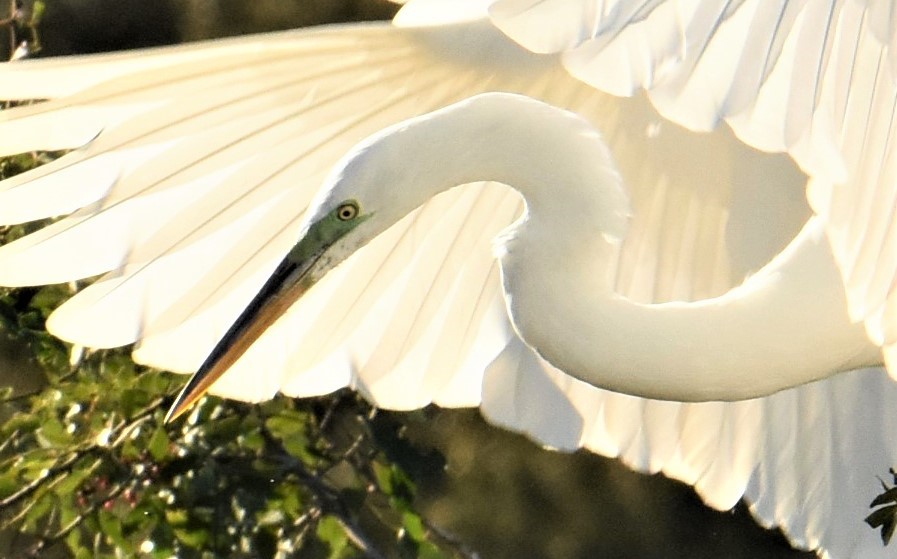
As wildlife photographers we normally want to photograph the entire animal or bird with lots of room around the edges of the image to create “breathing room”. A photo where the legs, wings, or other body parts are too close to the edge or cropped off is often less than pleasing. But sometimes you can get an incredible image by zooming in on just a part of the subject like I did with this great egret. Such a photo has the potential from just being a wildlife image to an artistic portrait. To get this shot, I watched this bird fly to and from a particular tree at the Audubon Center in Venice, Florida. After watching him land in the same spot time and time again, I positioned myself to get the back-lit wing feathers. I cluster shot (multiple frames per second) the landing to get the wings in a forward position creating the background/sweep for the bird’s head. I took over a hundred images with this objective in mind to get the photo I had envisioned. At least half the bird does not appear in the image, but it provides a totally different perspective than a full body shot.
Tip #20. Monitor migrations
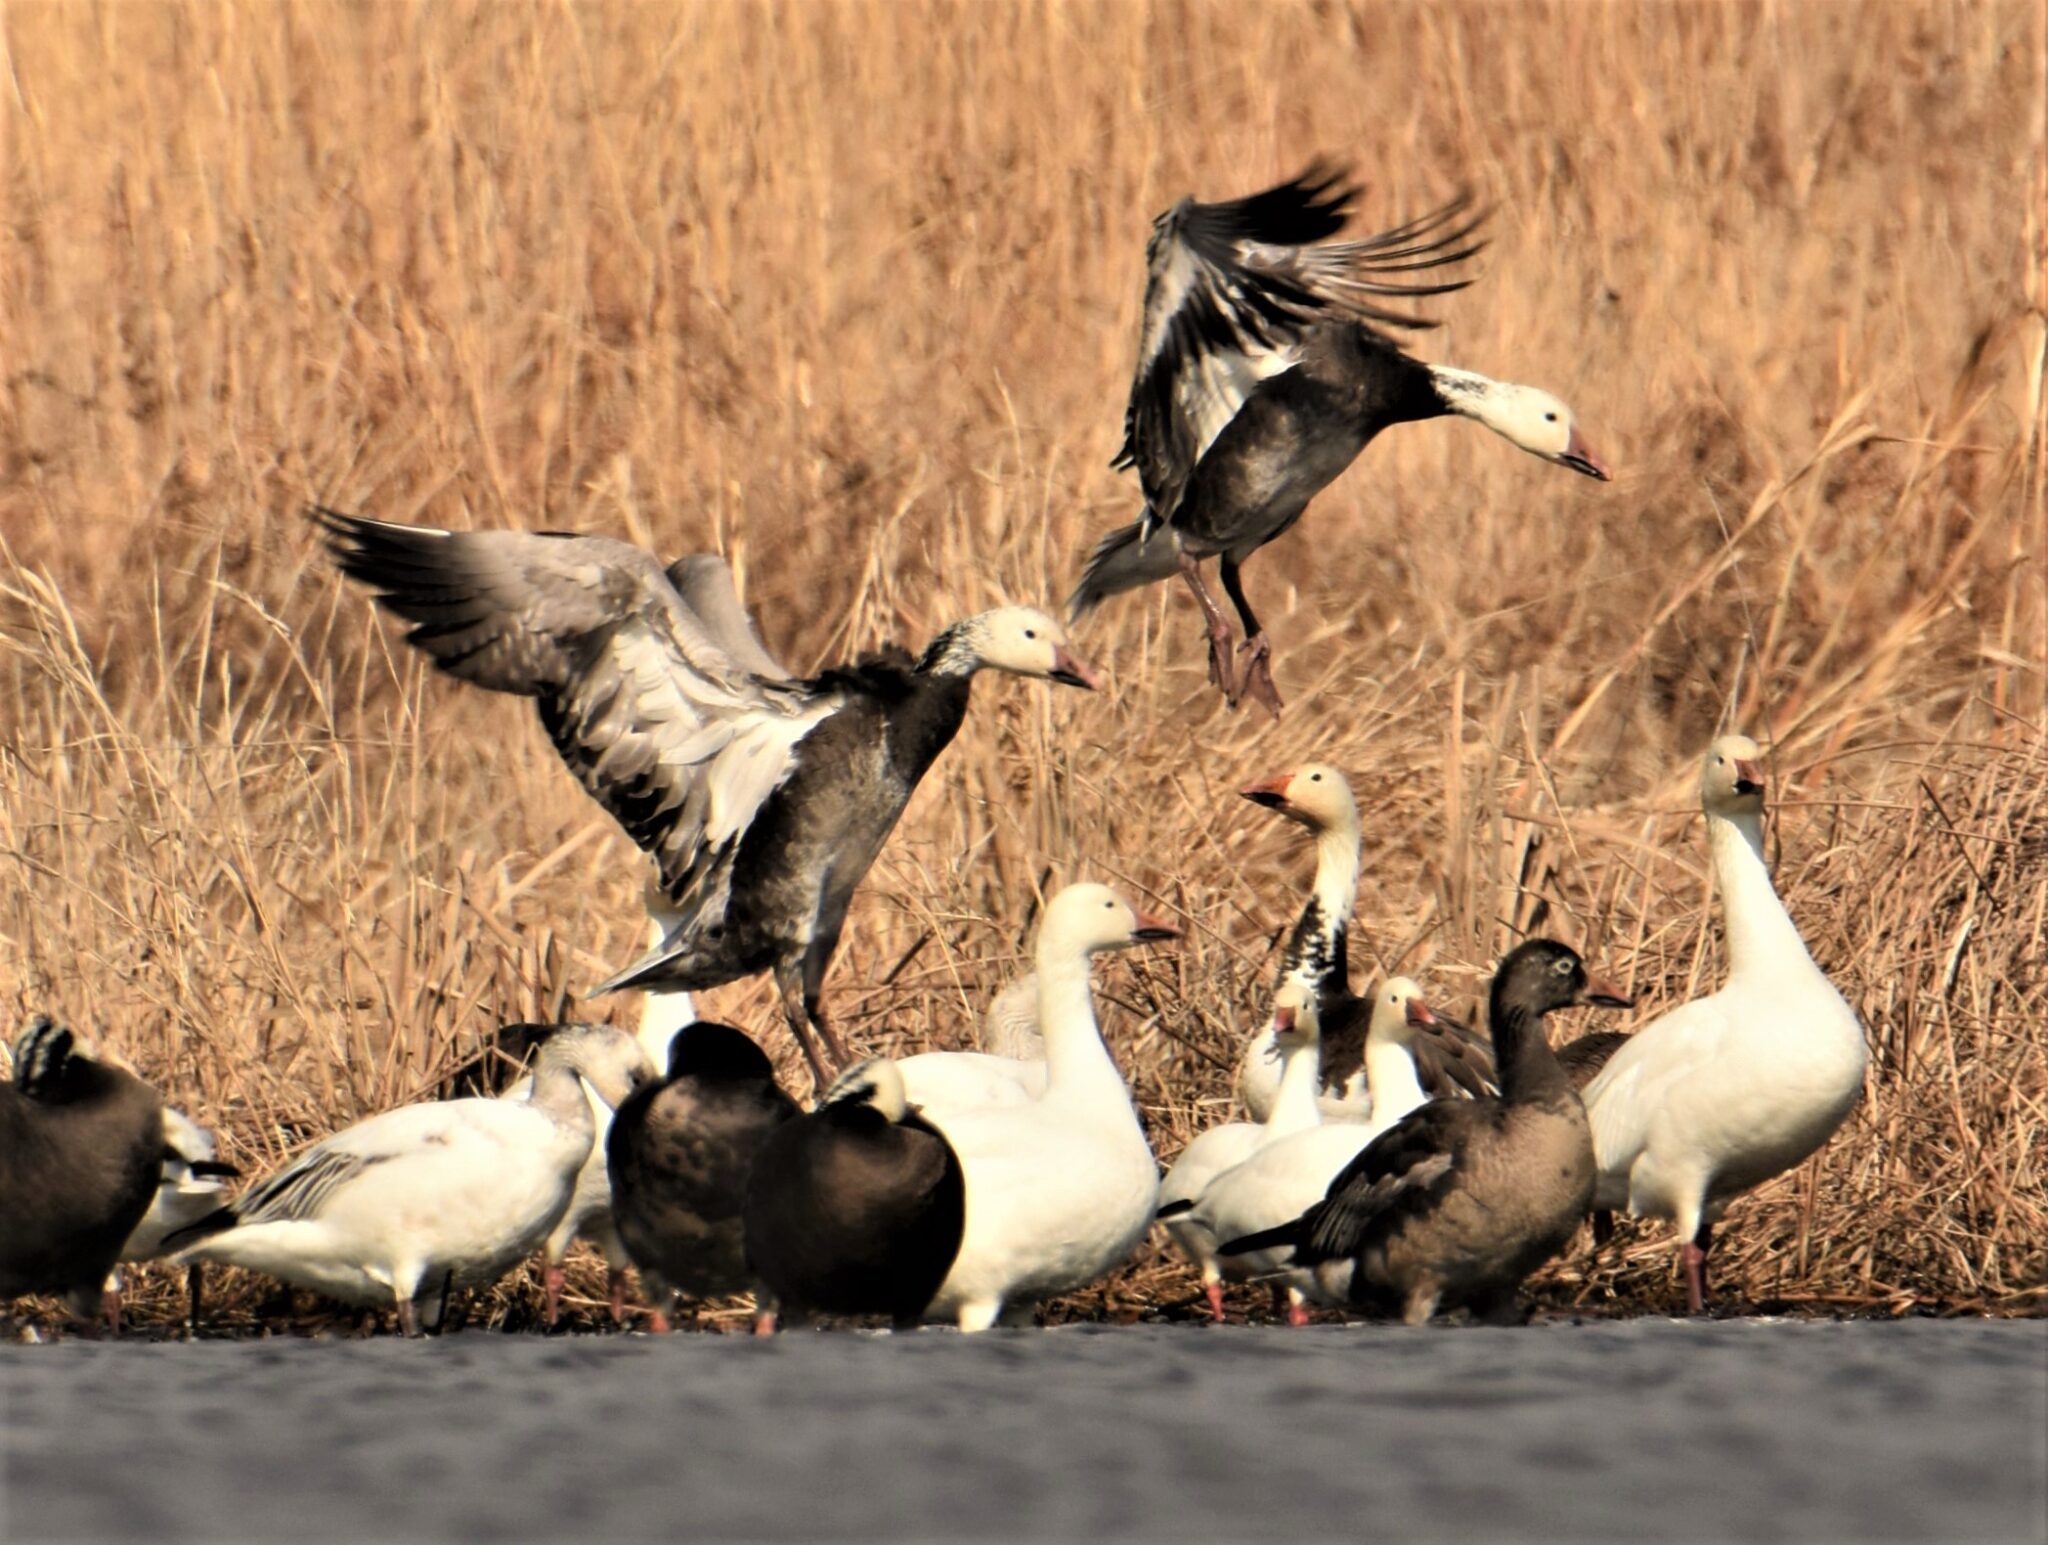
No matter where you live waterfowl should be passing through in the spring and fall. In the spring birds are heading north to their summer nesting grounds. In the fall they are headed south to avoid the harsh winters of the Northland. Here in the Midwest it is important to know both migration times and routes. This photograph was taken in early spring about 20 miles from where I live. I monitor this slough on a near daily basis as my window of opportunity to photograph is usually less than two weeks as the ducks and geese stop through on their migration north. Although we get few Sandhill Cranes in Iowa, you can get great images of thousands of them in Central Nebraska in early spring and then again in late fall. They tend to spend more time in the early spring passing through than the fall. Many preserves parks update their websites daily when the migration is occurring. I often use these to plan our vacations and travels. For instance, last fall Sham and I made reservations months in advance to be at Bosque Del Apache in Central New Mexico in early November for the height of the return of the Sandhill Cranes and Ross Geese. Keep in mind migrations times may vary slightly with the weather. I’ve seen Snow Geese spend a few weeks here in the spring if the Northland is colder than normal, and I’ve seen them fly straight through if the conditions are right up north.
Tip #19. Consider your background
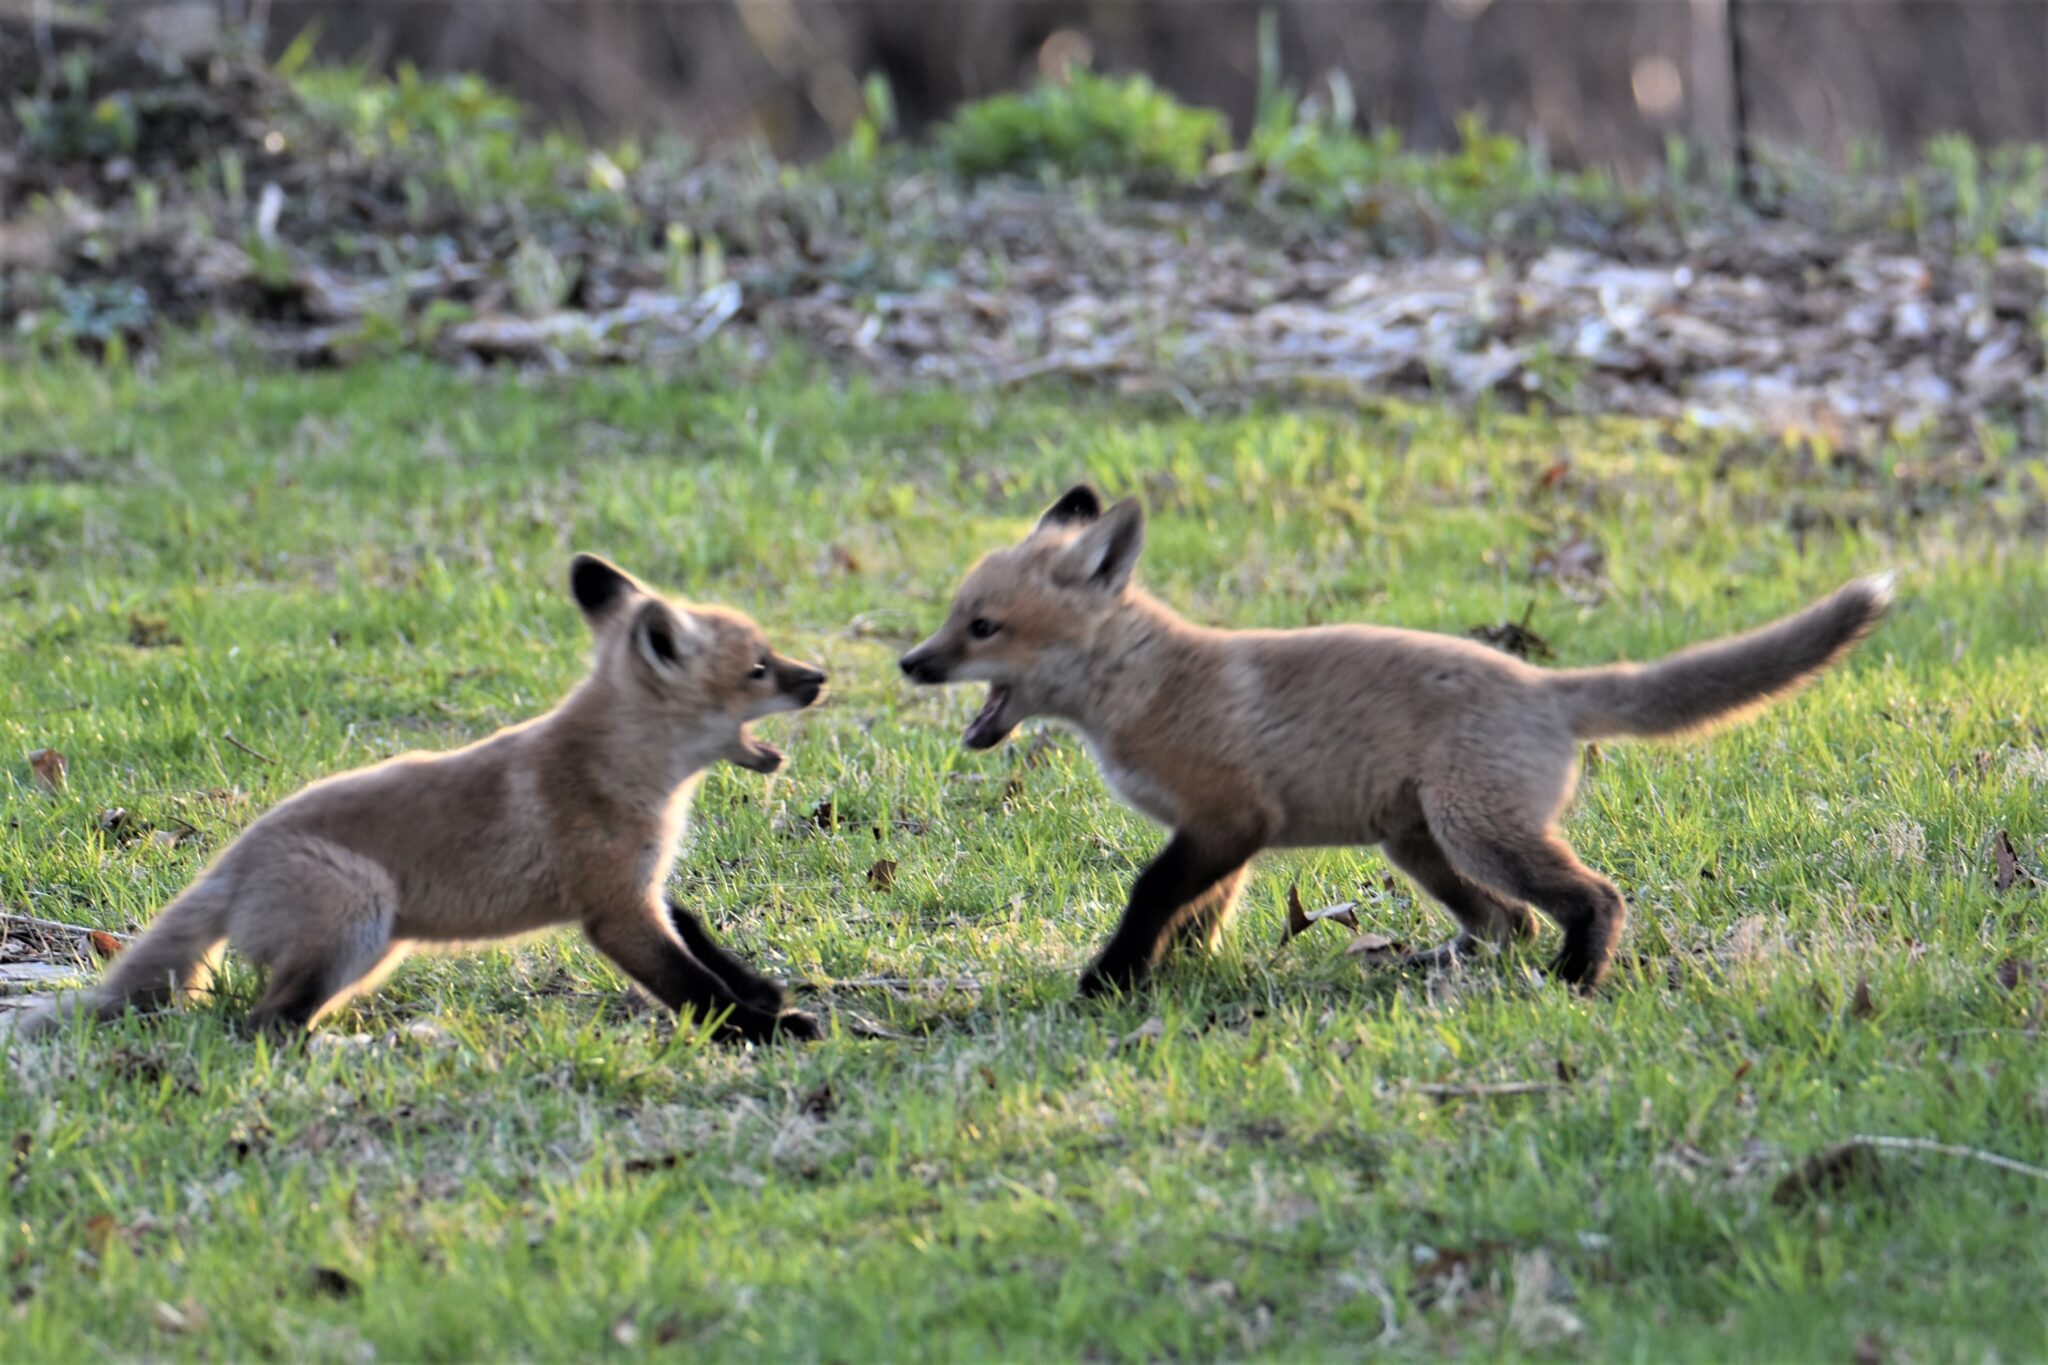
This image was actually shot in a residential setting. But by correctly positioning myself I was able to get a natural looking background. There were many angles to photograph these fox kits, but most of the other locations would have had a fence or building in the background. I know from experience it is easy to get shutter fever and take a bunch of images only to realize later when you look at them enlarged on a monitor that there is a utility line, fence post, farm building, or other distraction in the background. When locating yourself or your blind, take a close look through the lens at the background to make sure there is nothing to take away from the image. If so, you can often move a few feet one way or the other to eliminate the clutter. Fox kits or pups suckle for the first four to seven weeks. The kits emerge from the den at about four weeks and hunt earthworms and insects, but these form only a very small proportion of their diet. The adult fox bring mice, moles, rabbits and other small prey for the kits.


