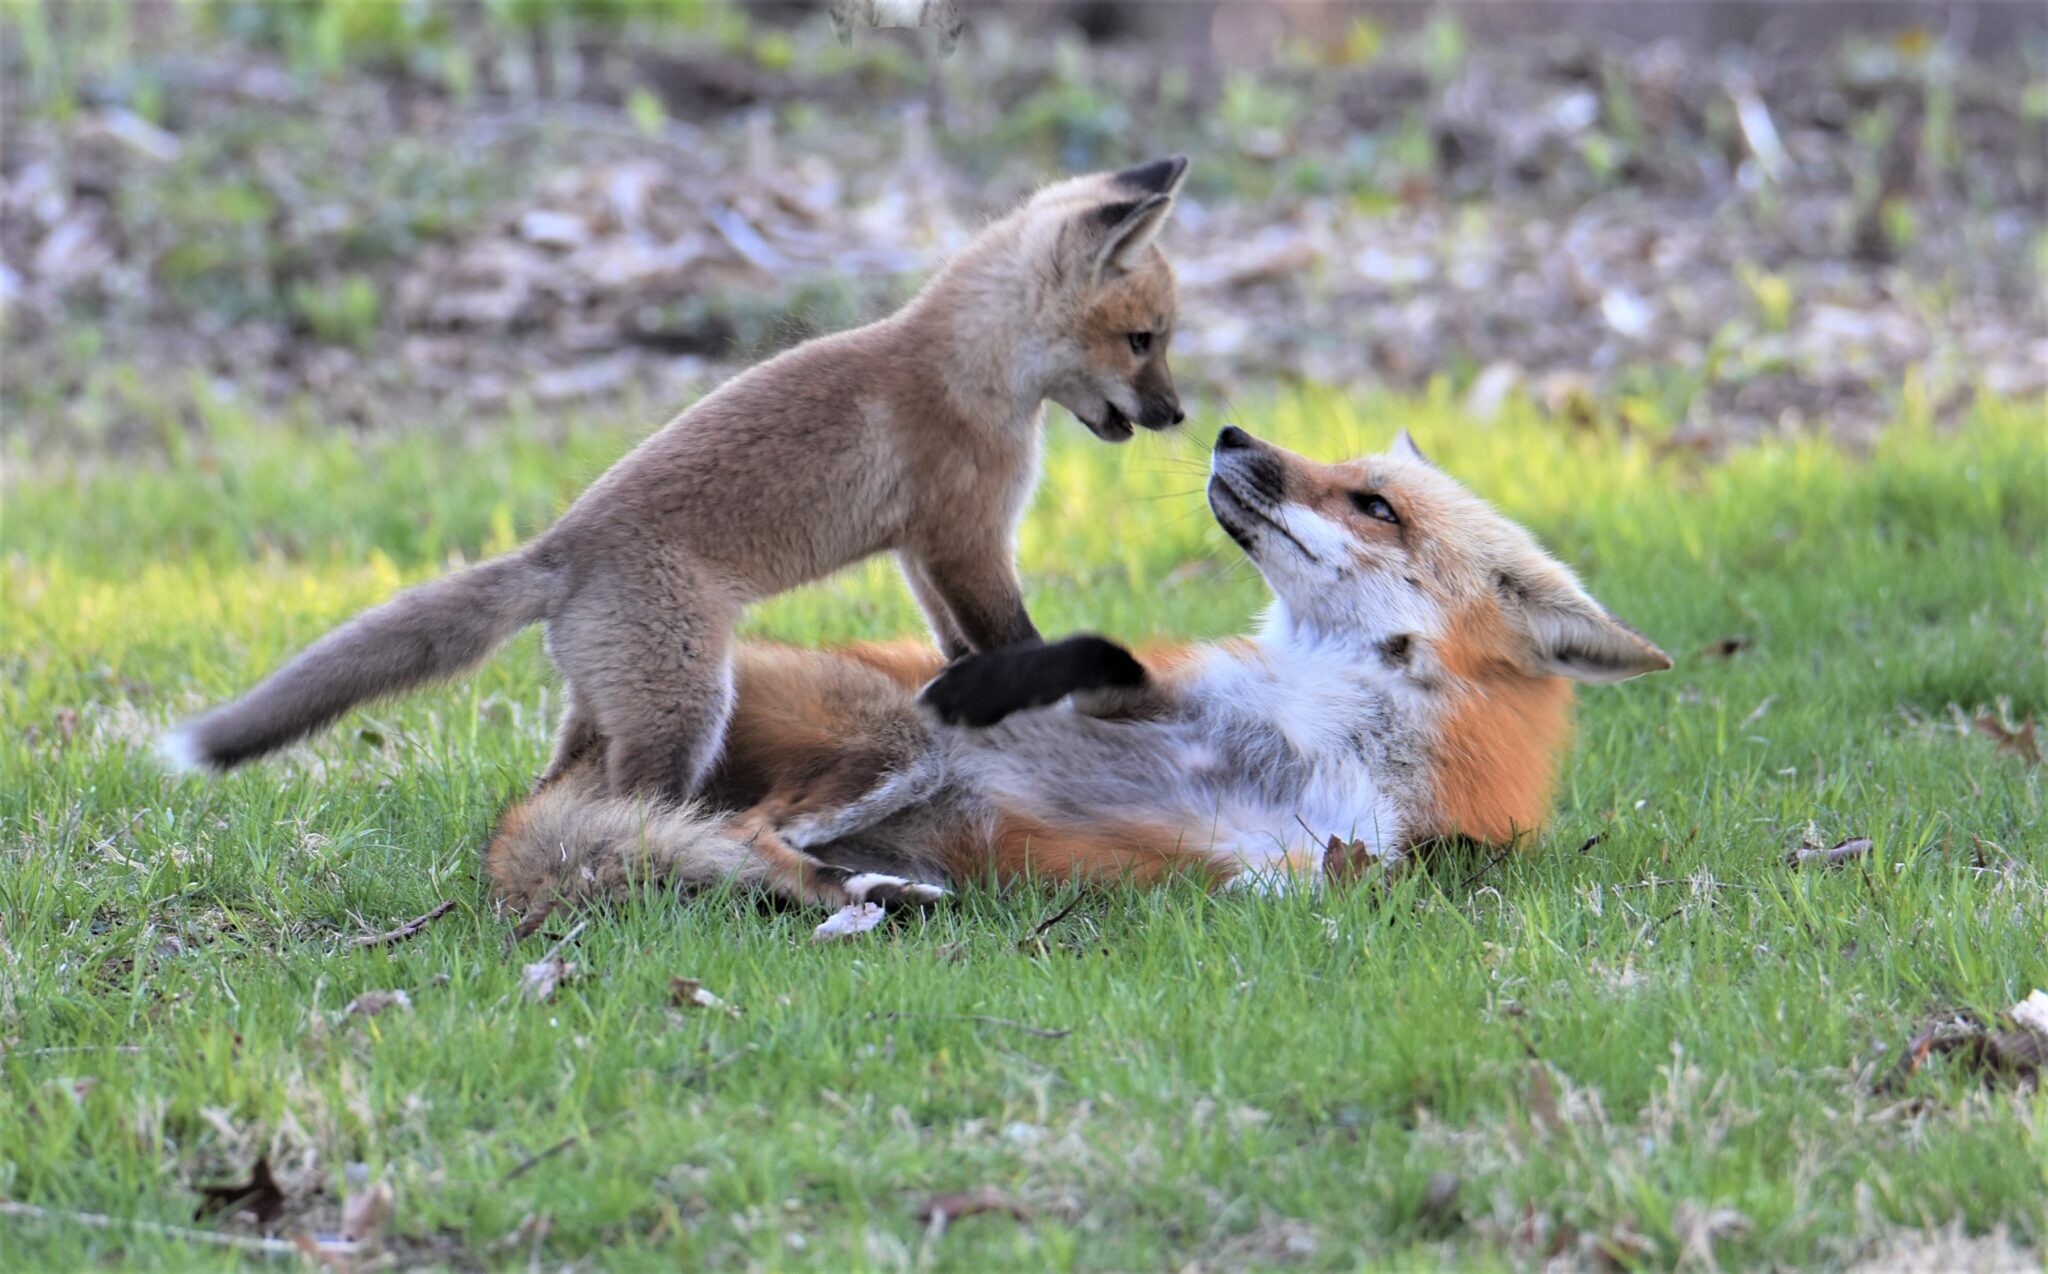
This very well may be one of my most important tips. The only reason it‘s a number 18 is that I just took this image a few hours ago. Some people find solace on a church pew, others playing a musical instrument, and others reading a great book or on a golf course. My nirvana is watching wildlife and given the opportunity, to take a good picture and share it with others. I seldom wear a watch when photographing as I don’t want to know what time it is, how long I’ve been there, or when I may have to quit. I usually run out of light well before I run out of interest in the topic. A few hours ago I had the great opportunity to photograph a male fox and his two of his three kits. I waited for two hours before snapping the first shot, and then I took 800 images in the next 45 minutes. Had it not been for a cloud bank in the west, which cost me the sun about a half hour of light before sunset, I would have shot even longer. Had I not lost light, I would probably still be there now. There is no money in wildlife photography, but there is the opportunity to take something I love and share the love of the craft with others through my images. I hope you enjoy my tips and photography.
Month: April 2020
Tip #17. Targeted photography
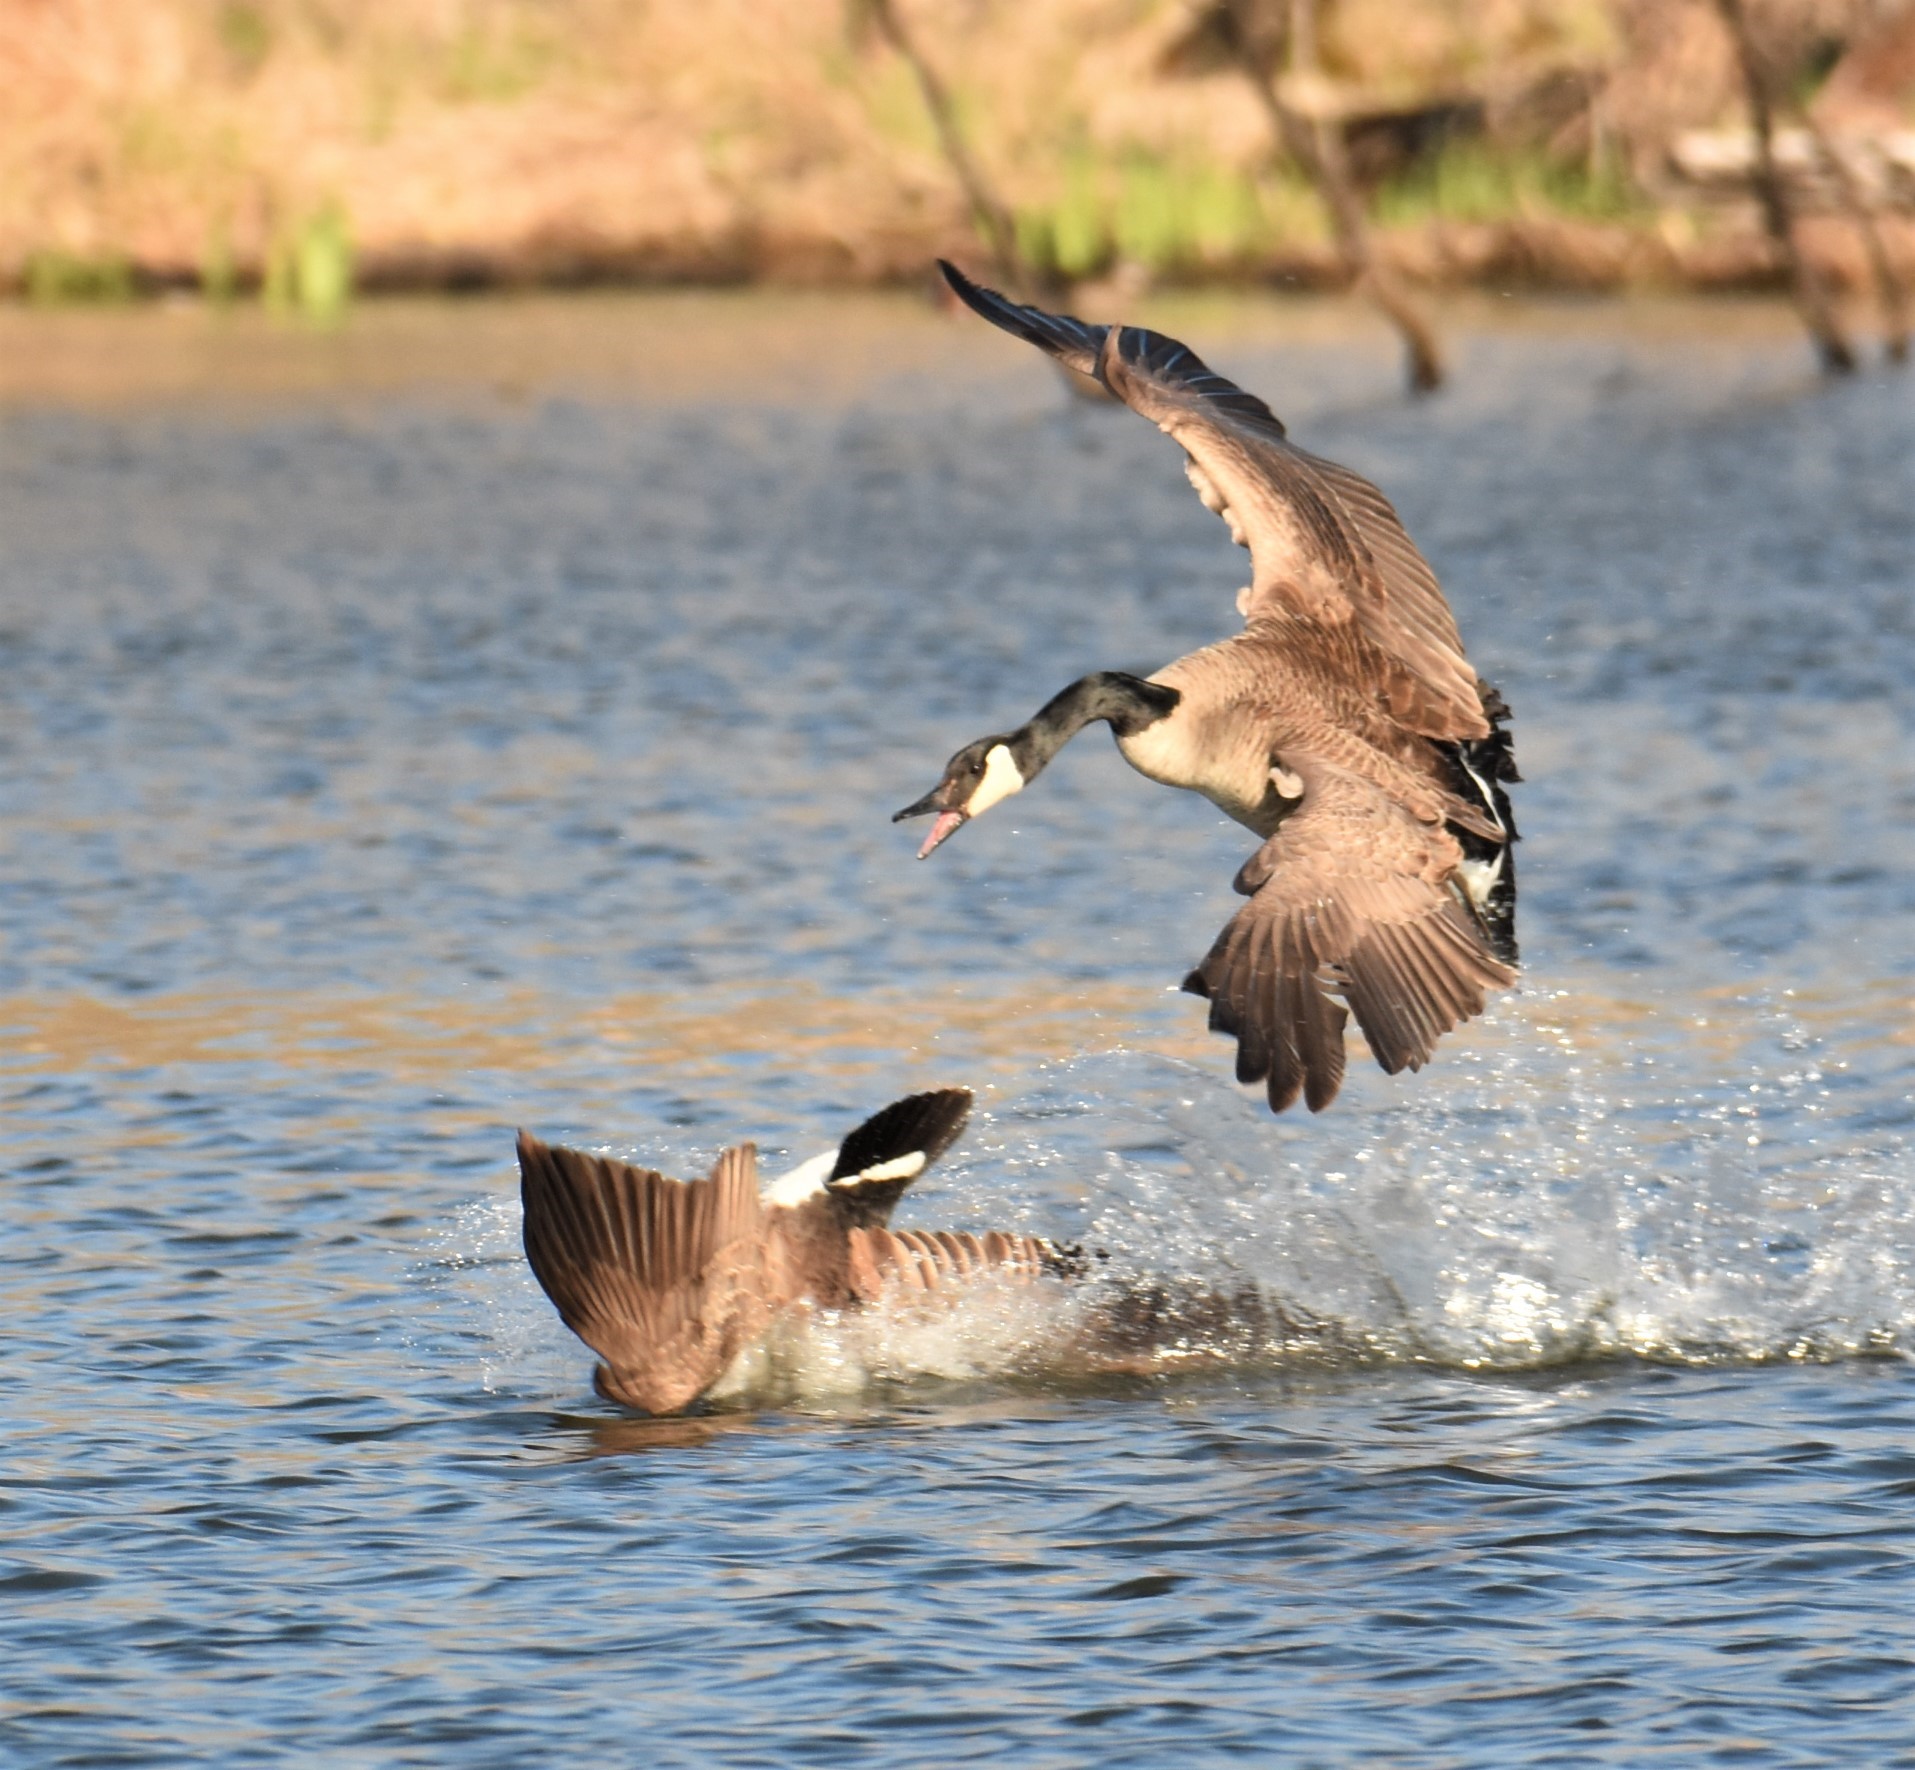
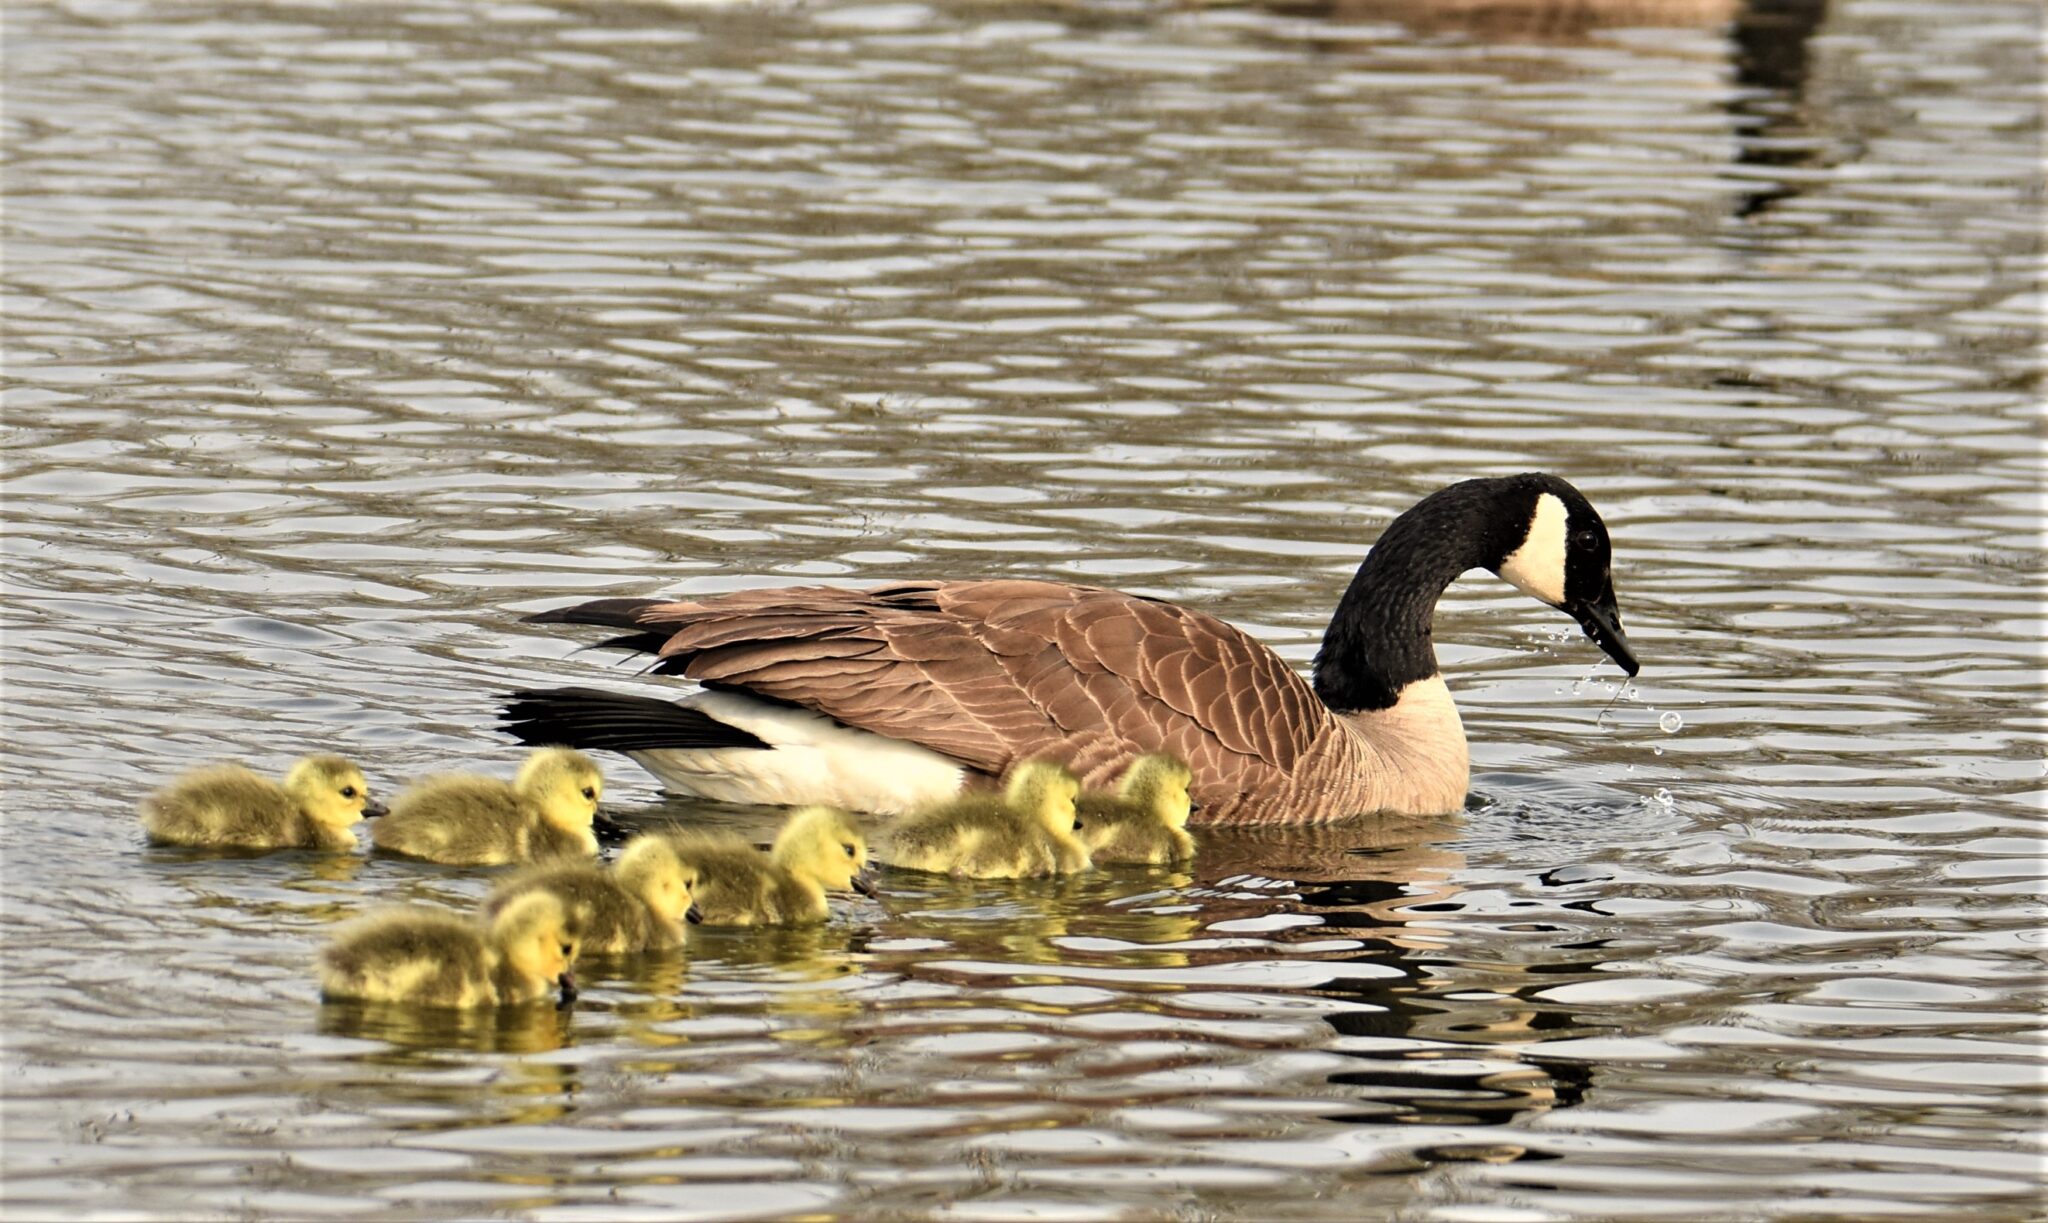
When photographing the newly hatched goslings yesterday, I noticed a lot of aggressive behavior among the adult geese. Since mating pairs are being formed, I suspect a lot of the aggression from one goose to another is to fend off fellow suitors. To catch the sparring, there are a few behaviors to watch for. First, the goose to go on the attack will be very boisterous. It appears he is warning the unwelcome guest. Next, he will often lower his neck low and parallel to the water line, and finally, he will attack the intruder. There were about two dozen geese on the slough this morning. Once the attack starts, it usually lasts only a few seconds. The geese were too widespread to wait for an attack to start and then try and focus in on the action. A better strategy I used was to listen carefully for the warning honks from a goose. Then, I’d immediately swing the camera to that goose. If his head was low to the water, an attack was usually eminent. When the defending goose attacked the unwelcome intruder, I was positioned to capture the action using a fast shutter speed. By targeting the goose that was telegraphing the warning signs, I was able to get several action shots of an attack in progress. It was also interesting to note the attacker always had his bill open. I noticed that feathers flew after a few of these attacks. I suspect more than a little bite was used.
Tip #16. The Benefits of binoculars
In addition to my camera equipment and camo clothing and netting, I also carry a good pair of binoculars with me in the car. When I get to an area with lots to look at, I’ll do the initial scan with the binoculars to scope it out. On this particular morning I arrived at one of my favorite sloughs and gave the opposite shoreline and muskrat houses a quick scan. When glassing over one of the muskrat houses, I glimpsed a bit of yellow that was definitely out of place. Further viewing proved it to be an early hatch of Canada Geese. I am guessing that the seven goslings were less than 24 hours old. Once located with the binoculars, I switched over to the camera fitted with a zoom lens. An extremely interesting behavior was that almost all of the geese in the slough seemed mesmerized by the goslings. Wherever mom and pop goose took the goslings, they always had a dozen adult geese in tow.
Tip #15. Shooting reflections
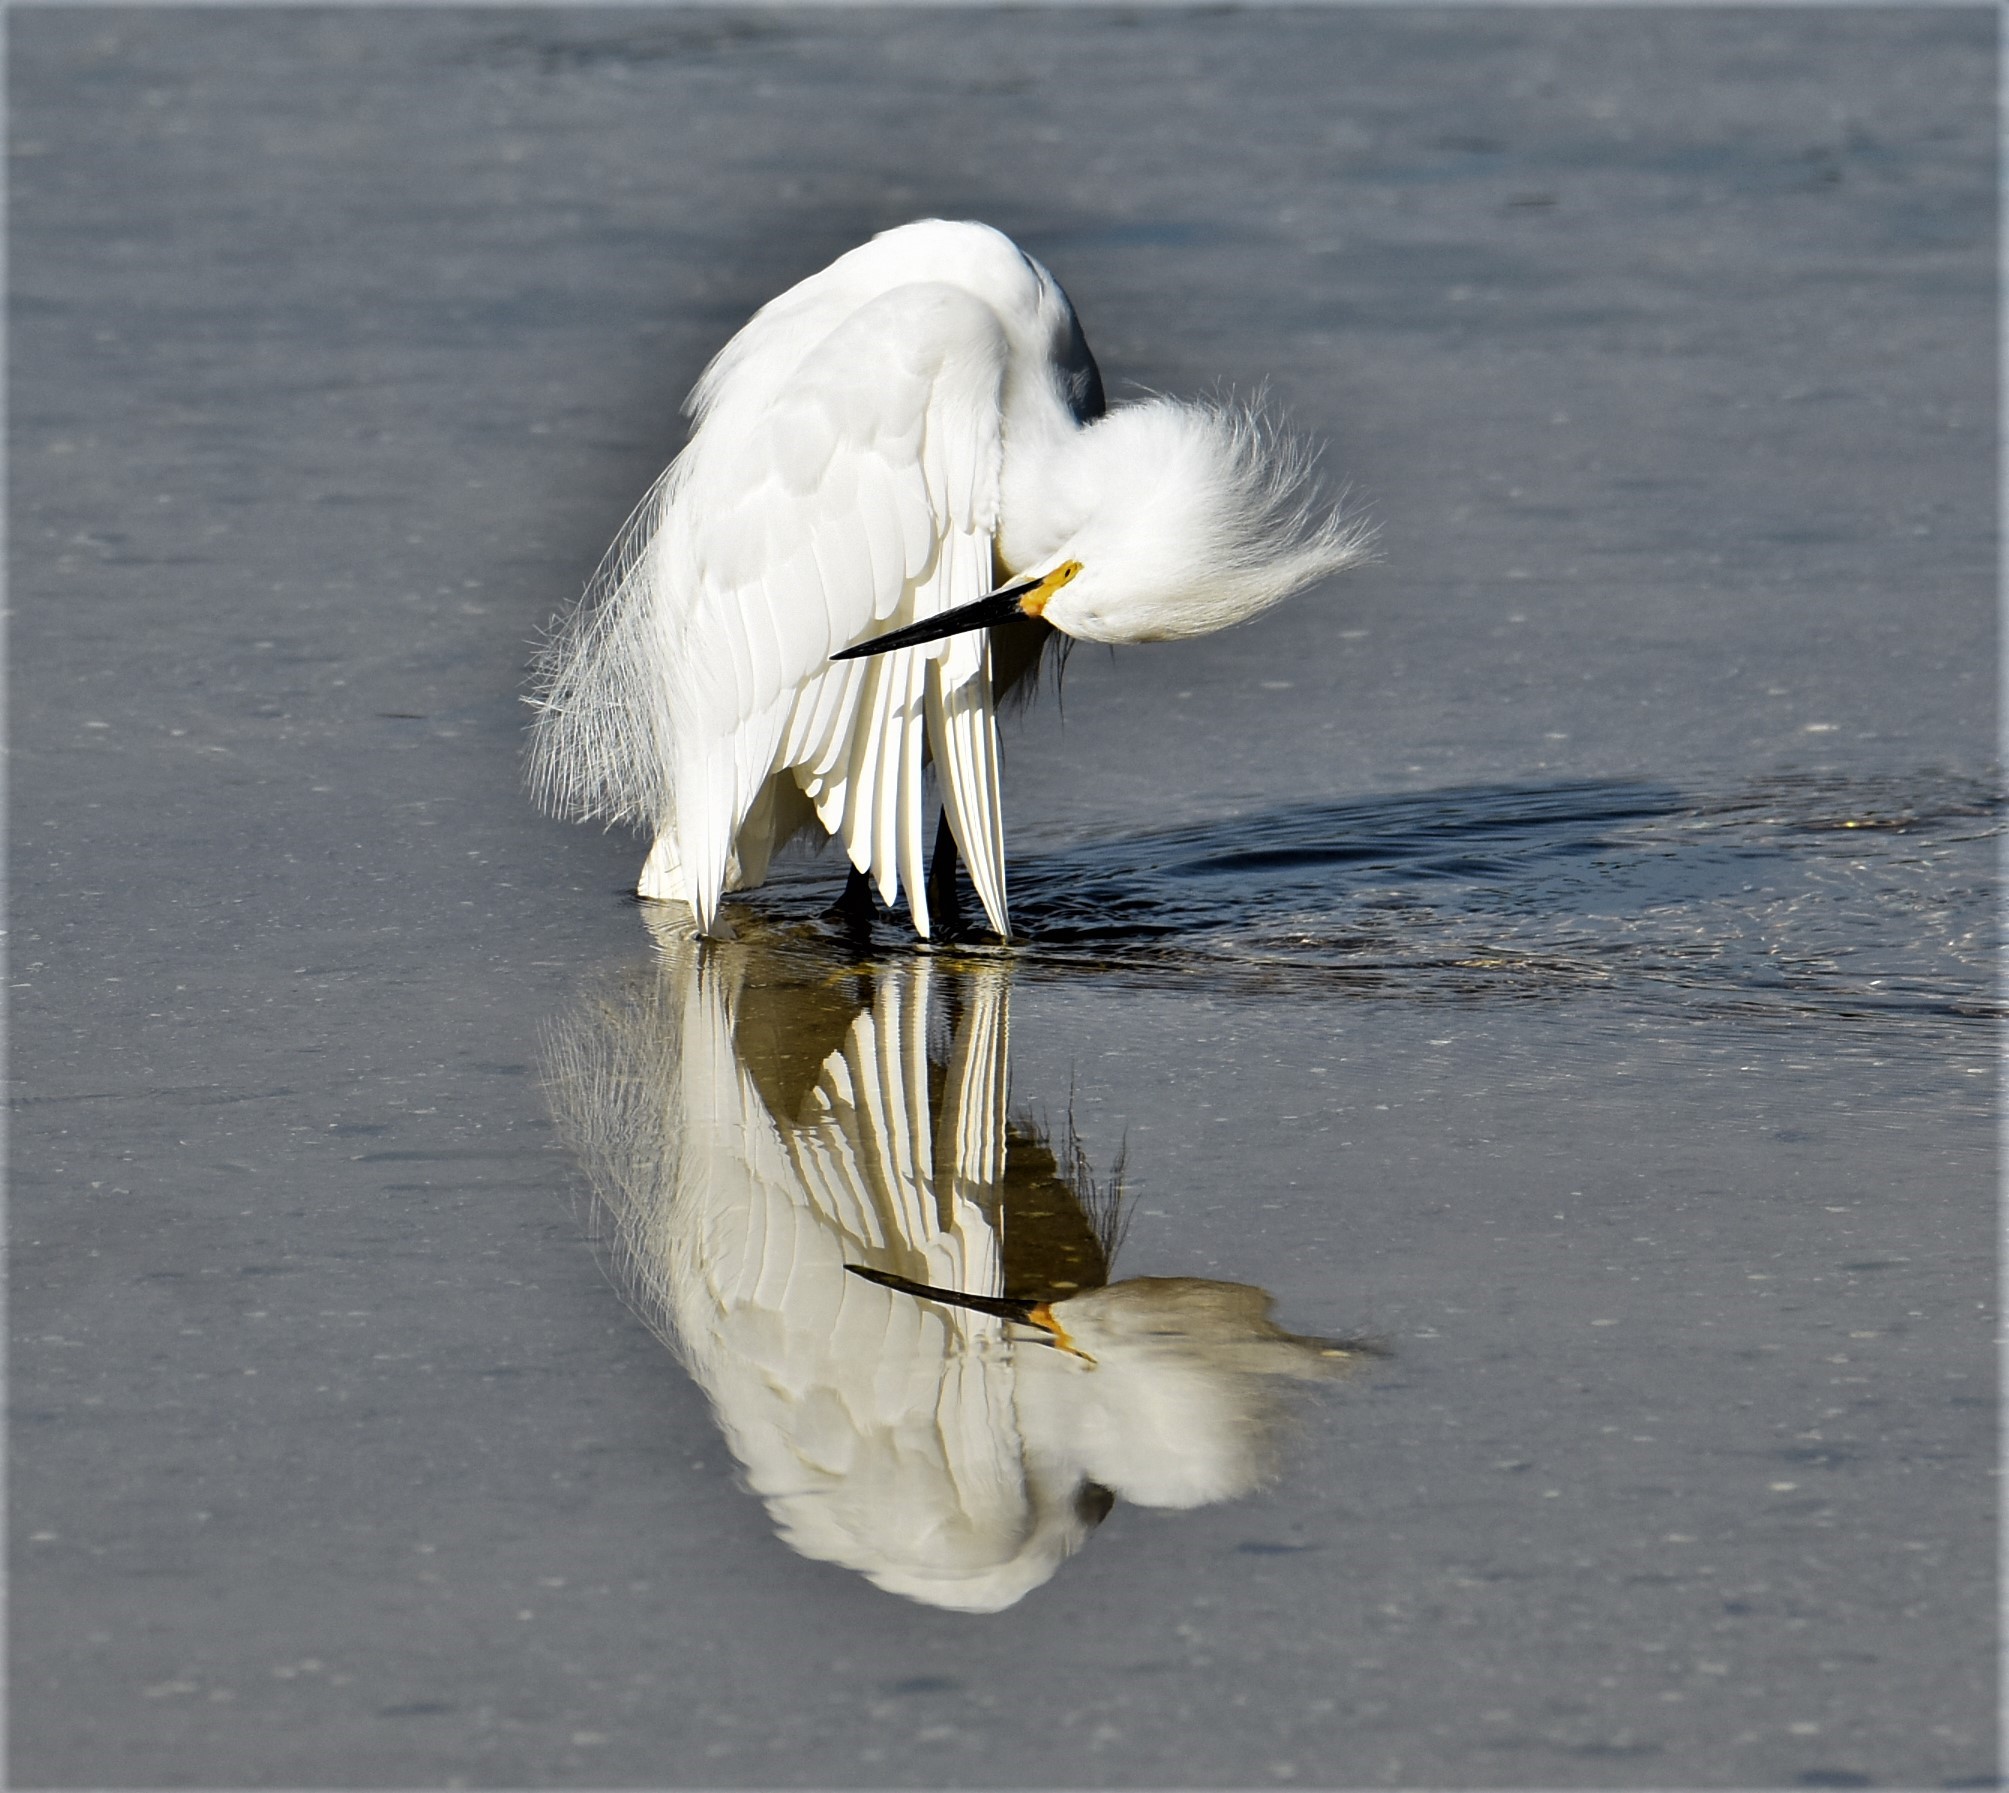
When photographing wildlife on water, you’ll often have the opportunity to take reflection shots (think about that for a second…). To get this image I arrived at the San Carlos Bay–Bunchee Beach Preserve at Fort Meyers, Florida early morning to avoid a sun too high in the sky which could have caused glare. I was fortunate in that not only did I get a nice reflection of the preening egret, but also ripples in the water caused by the tide moving at the egret’s feet. Another key to great reflection shots is avoiding the wind. Ideally, you want the wind to be as low as possible. Keep in mind that winds on a large open body of water will kick up more water disturbance than those in a sheltered area. For example, I’ve got great reflection shots at the edge of a slough next to cattails, yet less than 20 feet from the still sheltered water the wind was creating ripples in the open water.
Tip #14. Move slowly and quietly
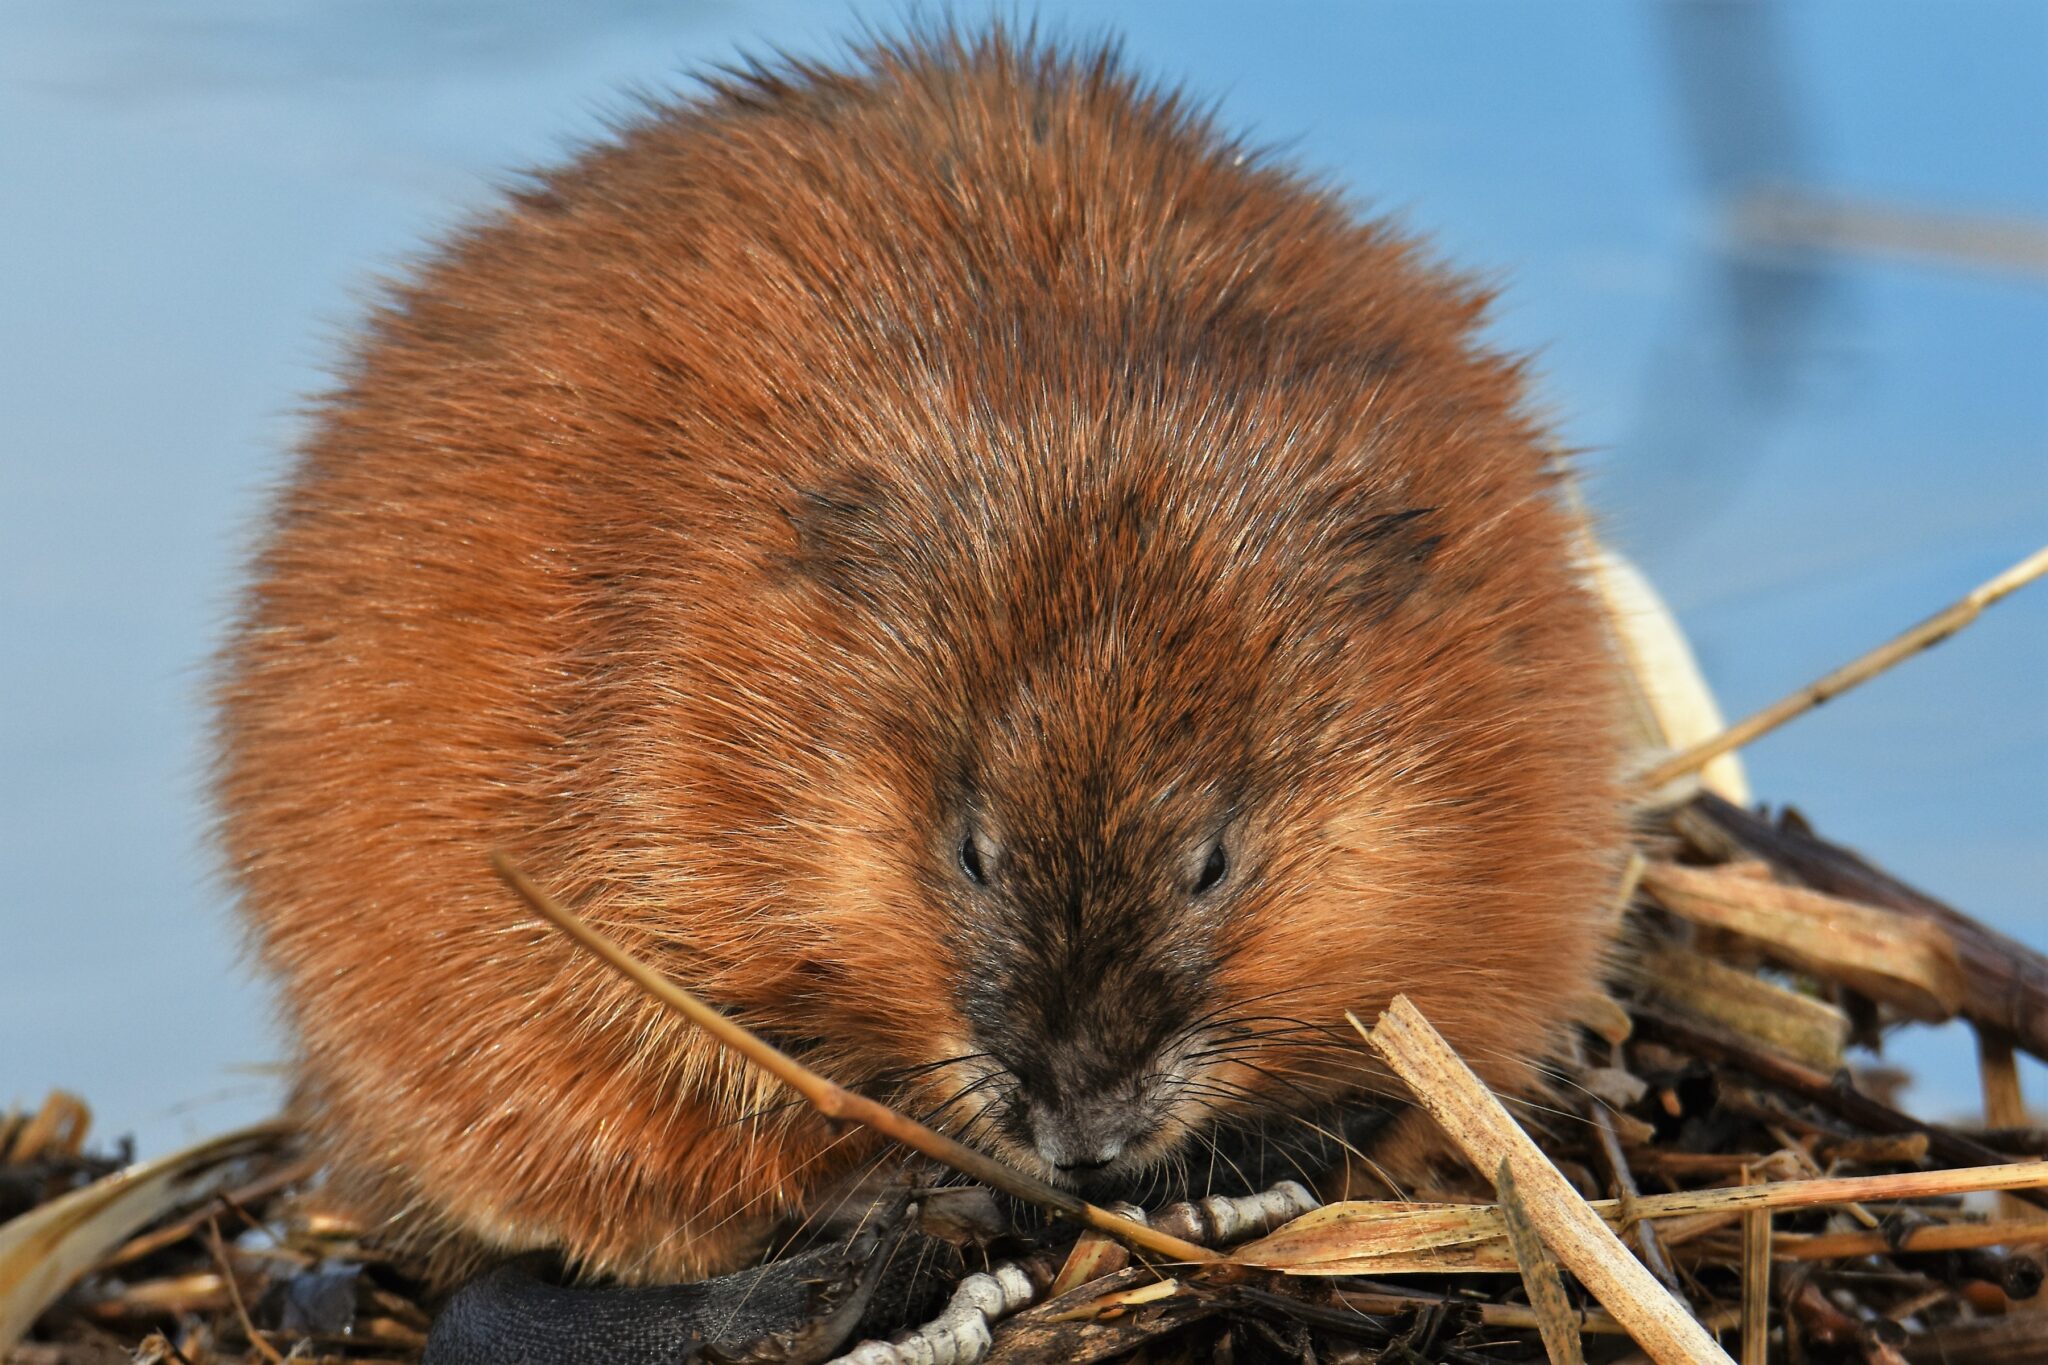
In my experience, the two things that disturb wildlife the most are motion and sound. A phrase I’ve coined is “the circle of disturbance”. As you move through any wildlife habitat, the sound you create and your motion alerts animals to your presence. The faster you move and the more noise you make the larger the diameter of the disturbance. Once you stop and stay very quiet, the diameter of the circle of disturbance slowly shrinks. Keep in mind animals survive by avoiding predators who exhibit these characteristics. The quieter you are and the slower you move, the less likely you are to disturb wildlife. I was fortunate to be alone in a park as I very slowly and quietly made my way around the trail when I came across this sleeping muskrat. The situation allowed me to get dozens of good images all within 15 feet. When a goose landed nearby, the muskrat was startled and slid into the water. Within a few minutes he climbed back on the mini-island and continued his nap and grooming. This entire time I was dead still and made no noise other than my breathing and the click of my camera.
Tip #13. Using water to convey motion
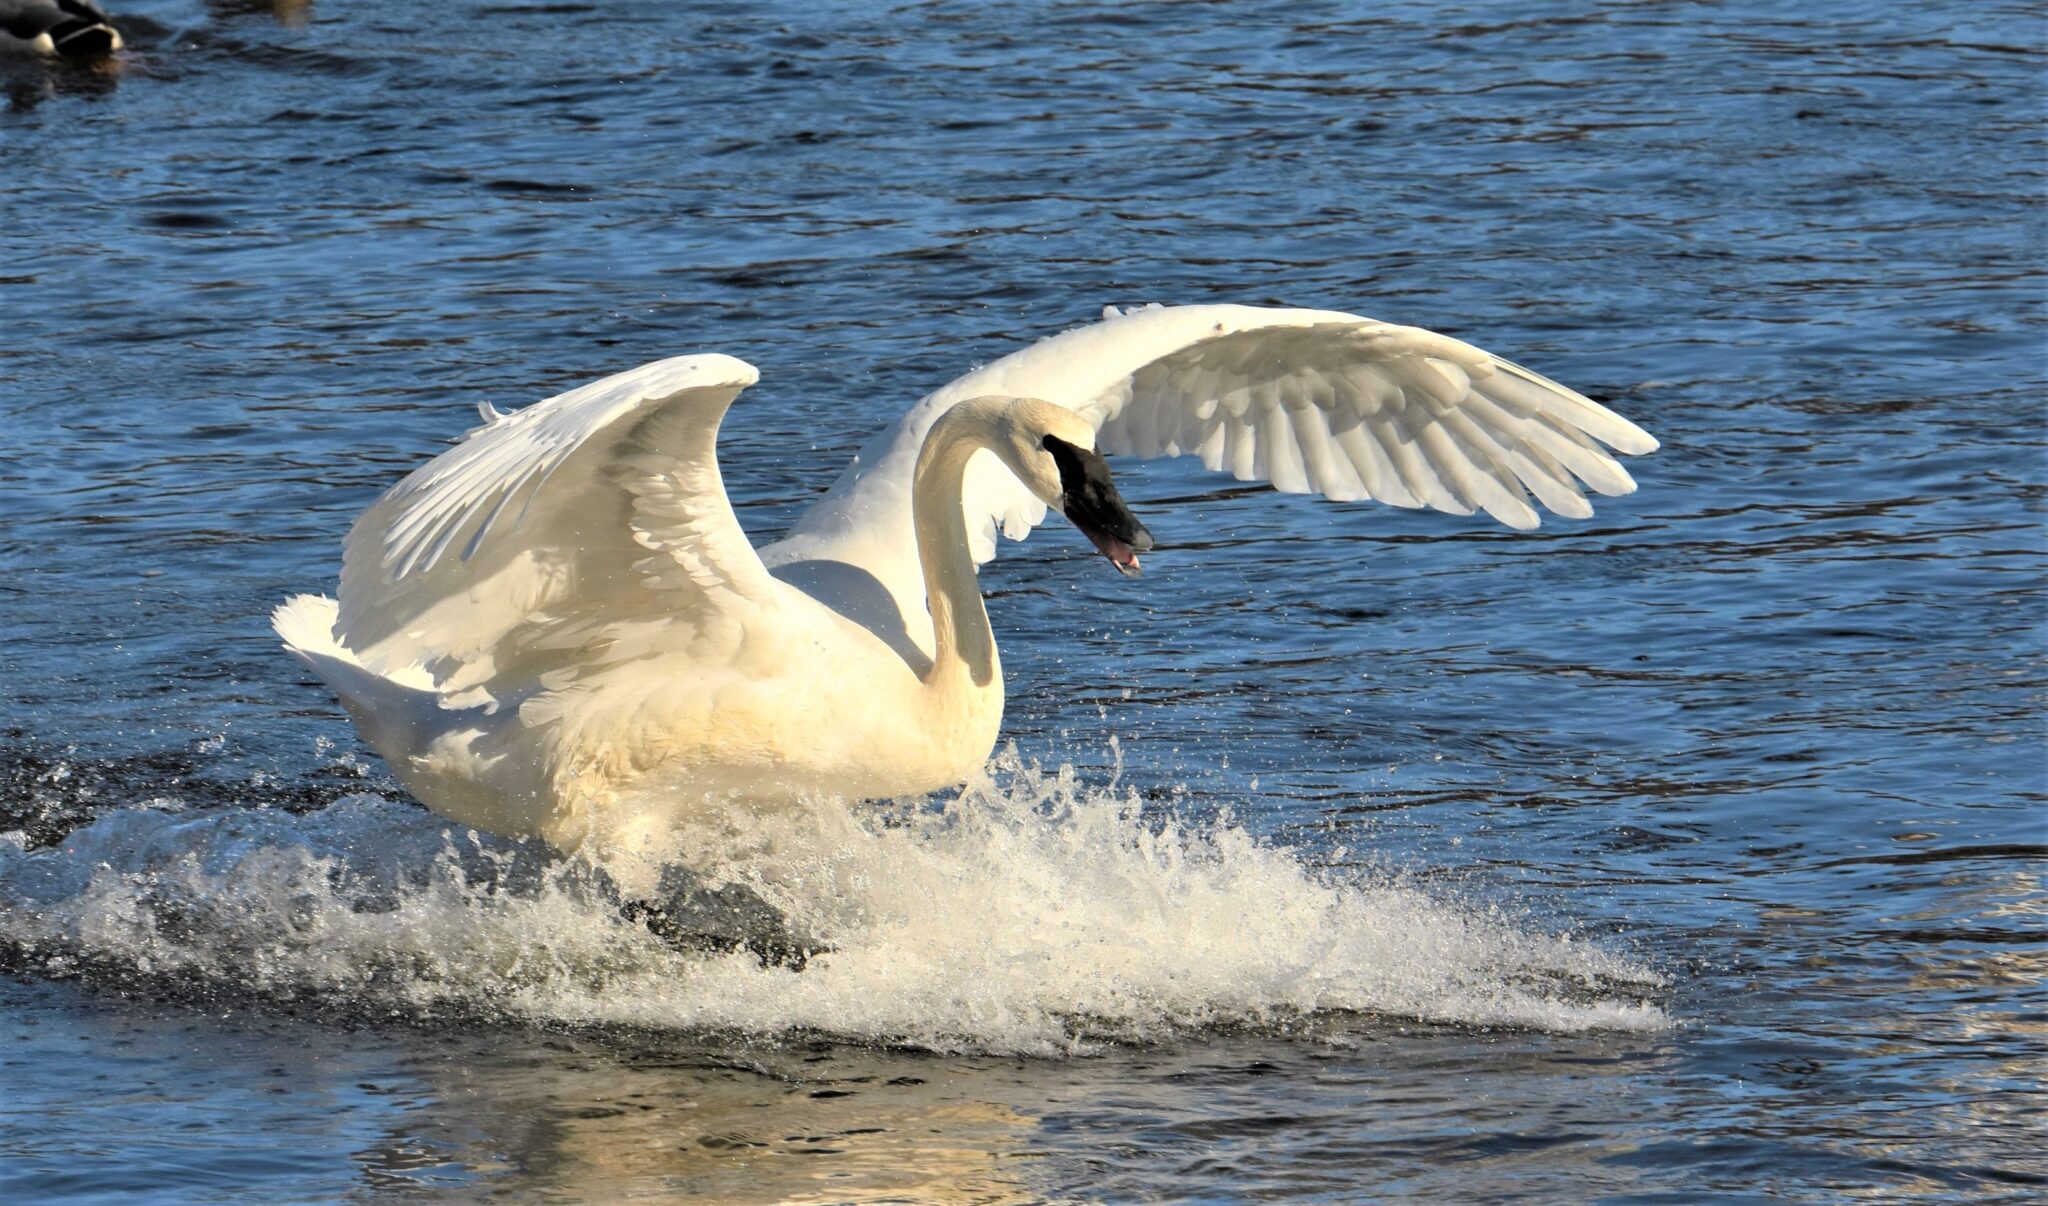
When most photographers start taking images of waterfowl, we take a lot of images of birds sitting on the water. But, as we strive for more intriguing images, we lean towards birds in motion. Although I tend to shy away from photographing paddling birds, I look for any opportunity of waterfowl fighting for a mate, taking off, or landing on water. Splashing water helps communicate movement. A fast shutter speed will freeze the disturbed water giving the image another visual element. To capture this type of shot, I photograph in the cluster mode so I can get seven to eight frames per second. And, I watch birds closely to know when the best splashing will take place. Shoot too early or too late and it’s easy to miss the effect. And, by shooting multiple frames per second, it allows me to choose the image with the best water movement. The other interesting aspect of this photo is the goose’s tongue. Sometimes you don’t notice characteristics like this until you view the photo later on a large screen.
Tip #12. The color of water
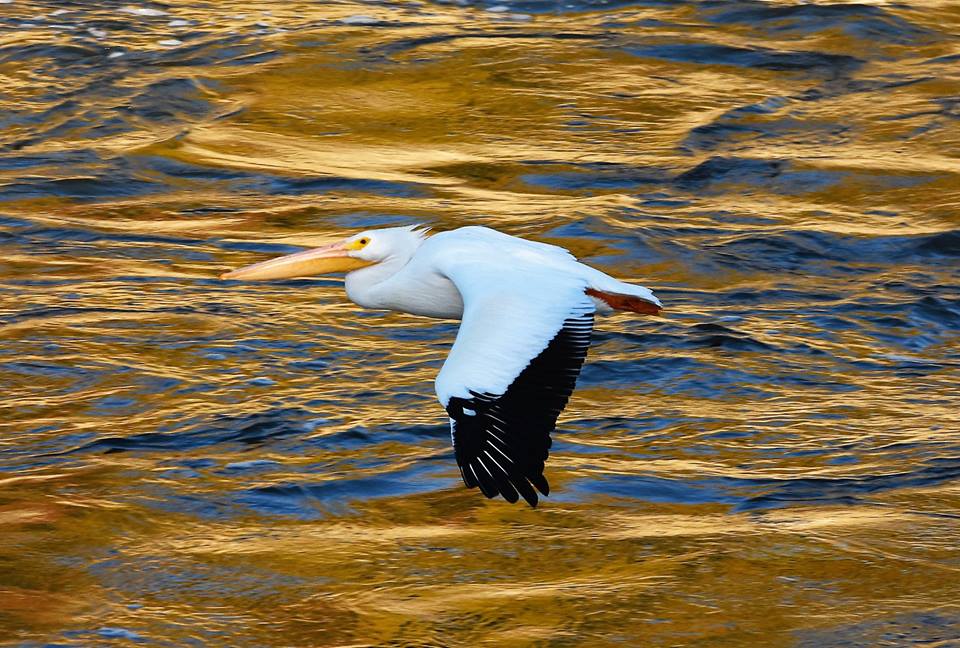
Water is always blue, right? Nope. I’ve seen water change different colors as the sun sets or rises. The color changes when the sun is hidden behind clouds and then is not. This image was photographed at the Saylorville Spillway just before sunset. In a matter of minutes, the water turned from an uninviting, cold gray to this golden hue. At first, I thought it was the reflection of the fall foliage on the water, but I now believe it was simply the reflection of the sunset on the water. I had my back to the sunset in this photo and wasn’t aware of the color of the sky of the setting son. The afternoon this was taken, I was practicing taking pelican flight shots, working on my panning and shutter speed. The water was only this color for about five minutes, and luckily the pelicans were still flying. This is another great example of the beautiful lighting you can get after sunrise and before sunset (the golden hours). DSM magazine gave this image an entire page a few years ago.
Tip #11. You gotta get up early
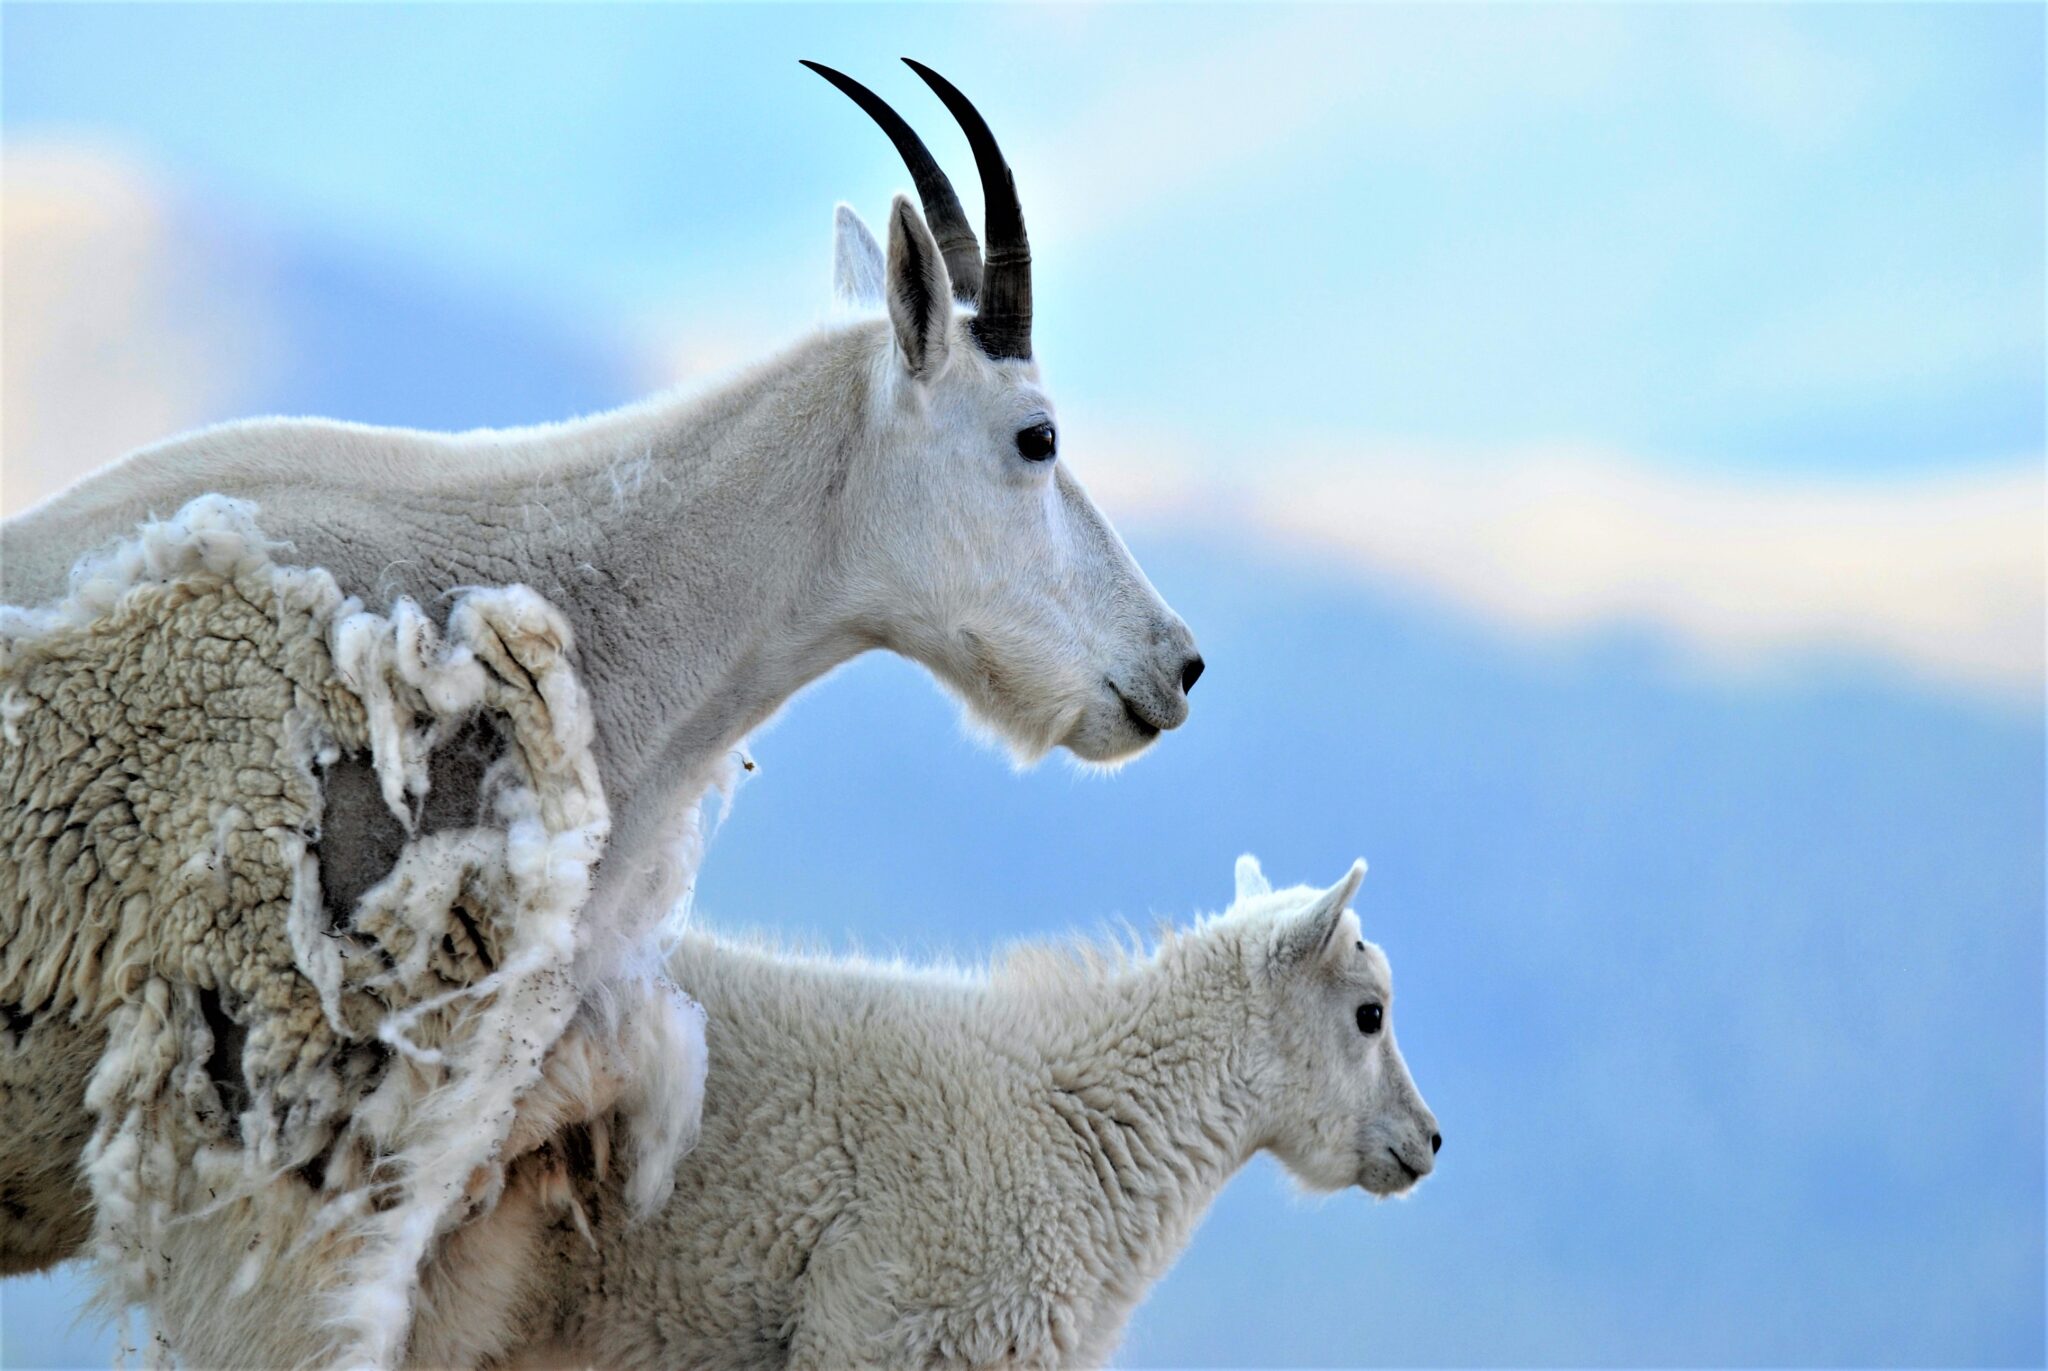
Before visiting a particular location, I’ll often read as much as possible about the specifics of what can be photographed before going to the spot. Knowing sunrise and sunset is often extremity important. Case in point, Mount Evans, Colorado. The best time to photograph the Mountain Goats and Bighorn Sheep are very early in the morning as they tend to head down the mountain side to graze within an hour or two after sunrise. From our lodging in Breckenridge, Colorado, Slade and I would get up at 4am, drive to Idaho Springs, and then take the white-knuckle drive up Mount Evans. This road is the highest paved road in North America. Once at the peak you can photograph the goats and sheep at close range. But, by 9am, they start to disperse and head down the mountain. In Yellowstone, Slade and I are usually heading out of Gardner, Montana at 5:30am to be in Lamar Valley by sunrise. When photographing wood ducks from a blind northwest of Minneapolis, I have to arise at 4am to be in the blind prior to sunrise. It’s not enough to be at the location at sunrise, but you need to be set up and ready to shoot at sunrise. You snooze you lose.
Tip #10. Continually up your game
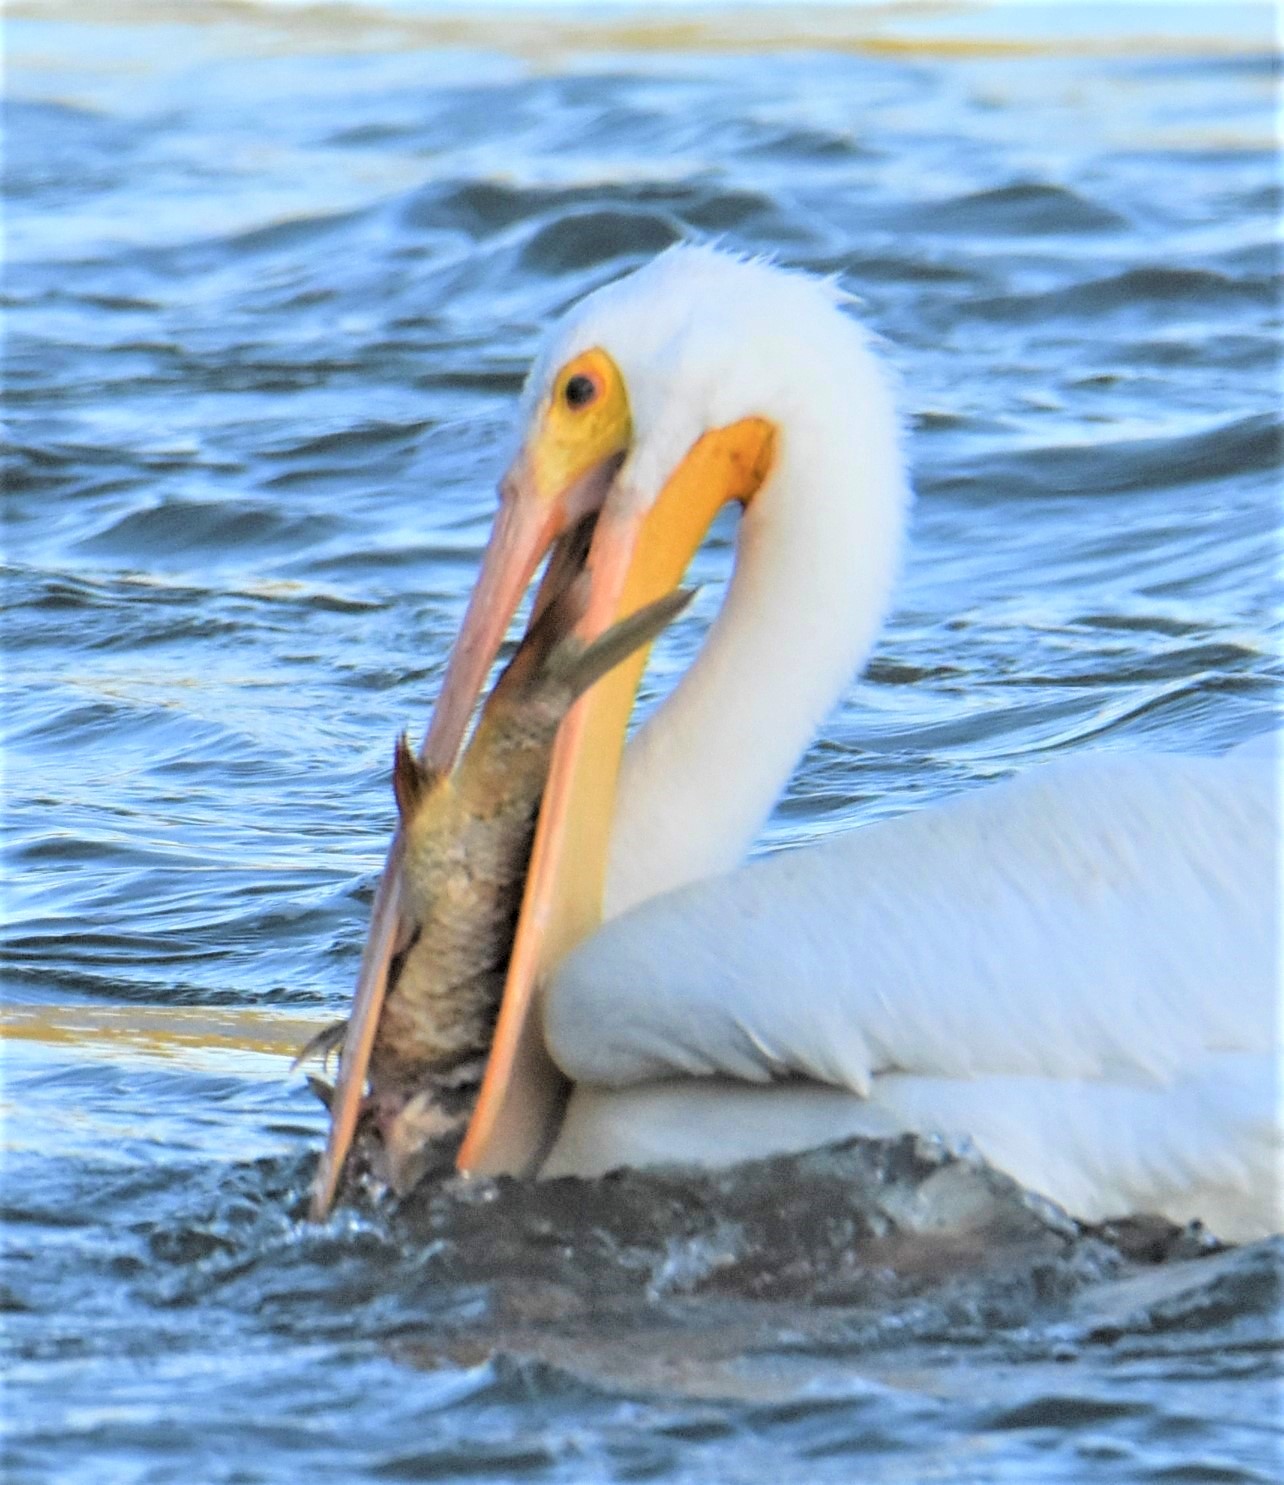
When I first photographed a pelican, it was a ways off, and I almost had to tell people looking at the picture what it was. Then, I started photographing pelicans at a closer range paddling and then flying. A few years ago, I realized I had thousands of images of pelicans in flight. Since I greatly enjoyed watching them, I knew I had to shoot something more exciting. I spent several hours with binoculars watching pelicans to witness a behavior I had not photographed when I noticed that when a pelican caught a fish, there were times when the fish was visible for a few seconds before a pelican would swallow it. The larger the fish, the longer it took to get swallowed. From then on, I spent countless hours closely watching pelicans in hopes they would catch a fish and that I would be able to photograph it before it got swallowed. Patience (not my strong point) paid off as I now have dozens of feeding shots like this one. Sometimes you lay the camera down and just watch wildlife to learn their behaviors and characteristics. You will learn something that is absolutely amazing even if you don’t get a picture.
Tip #9. Avoid tunnel vision
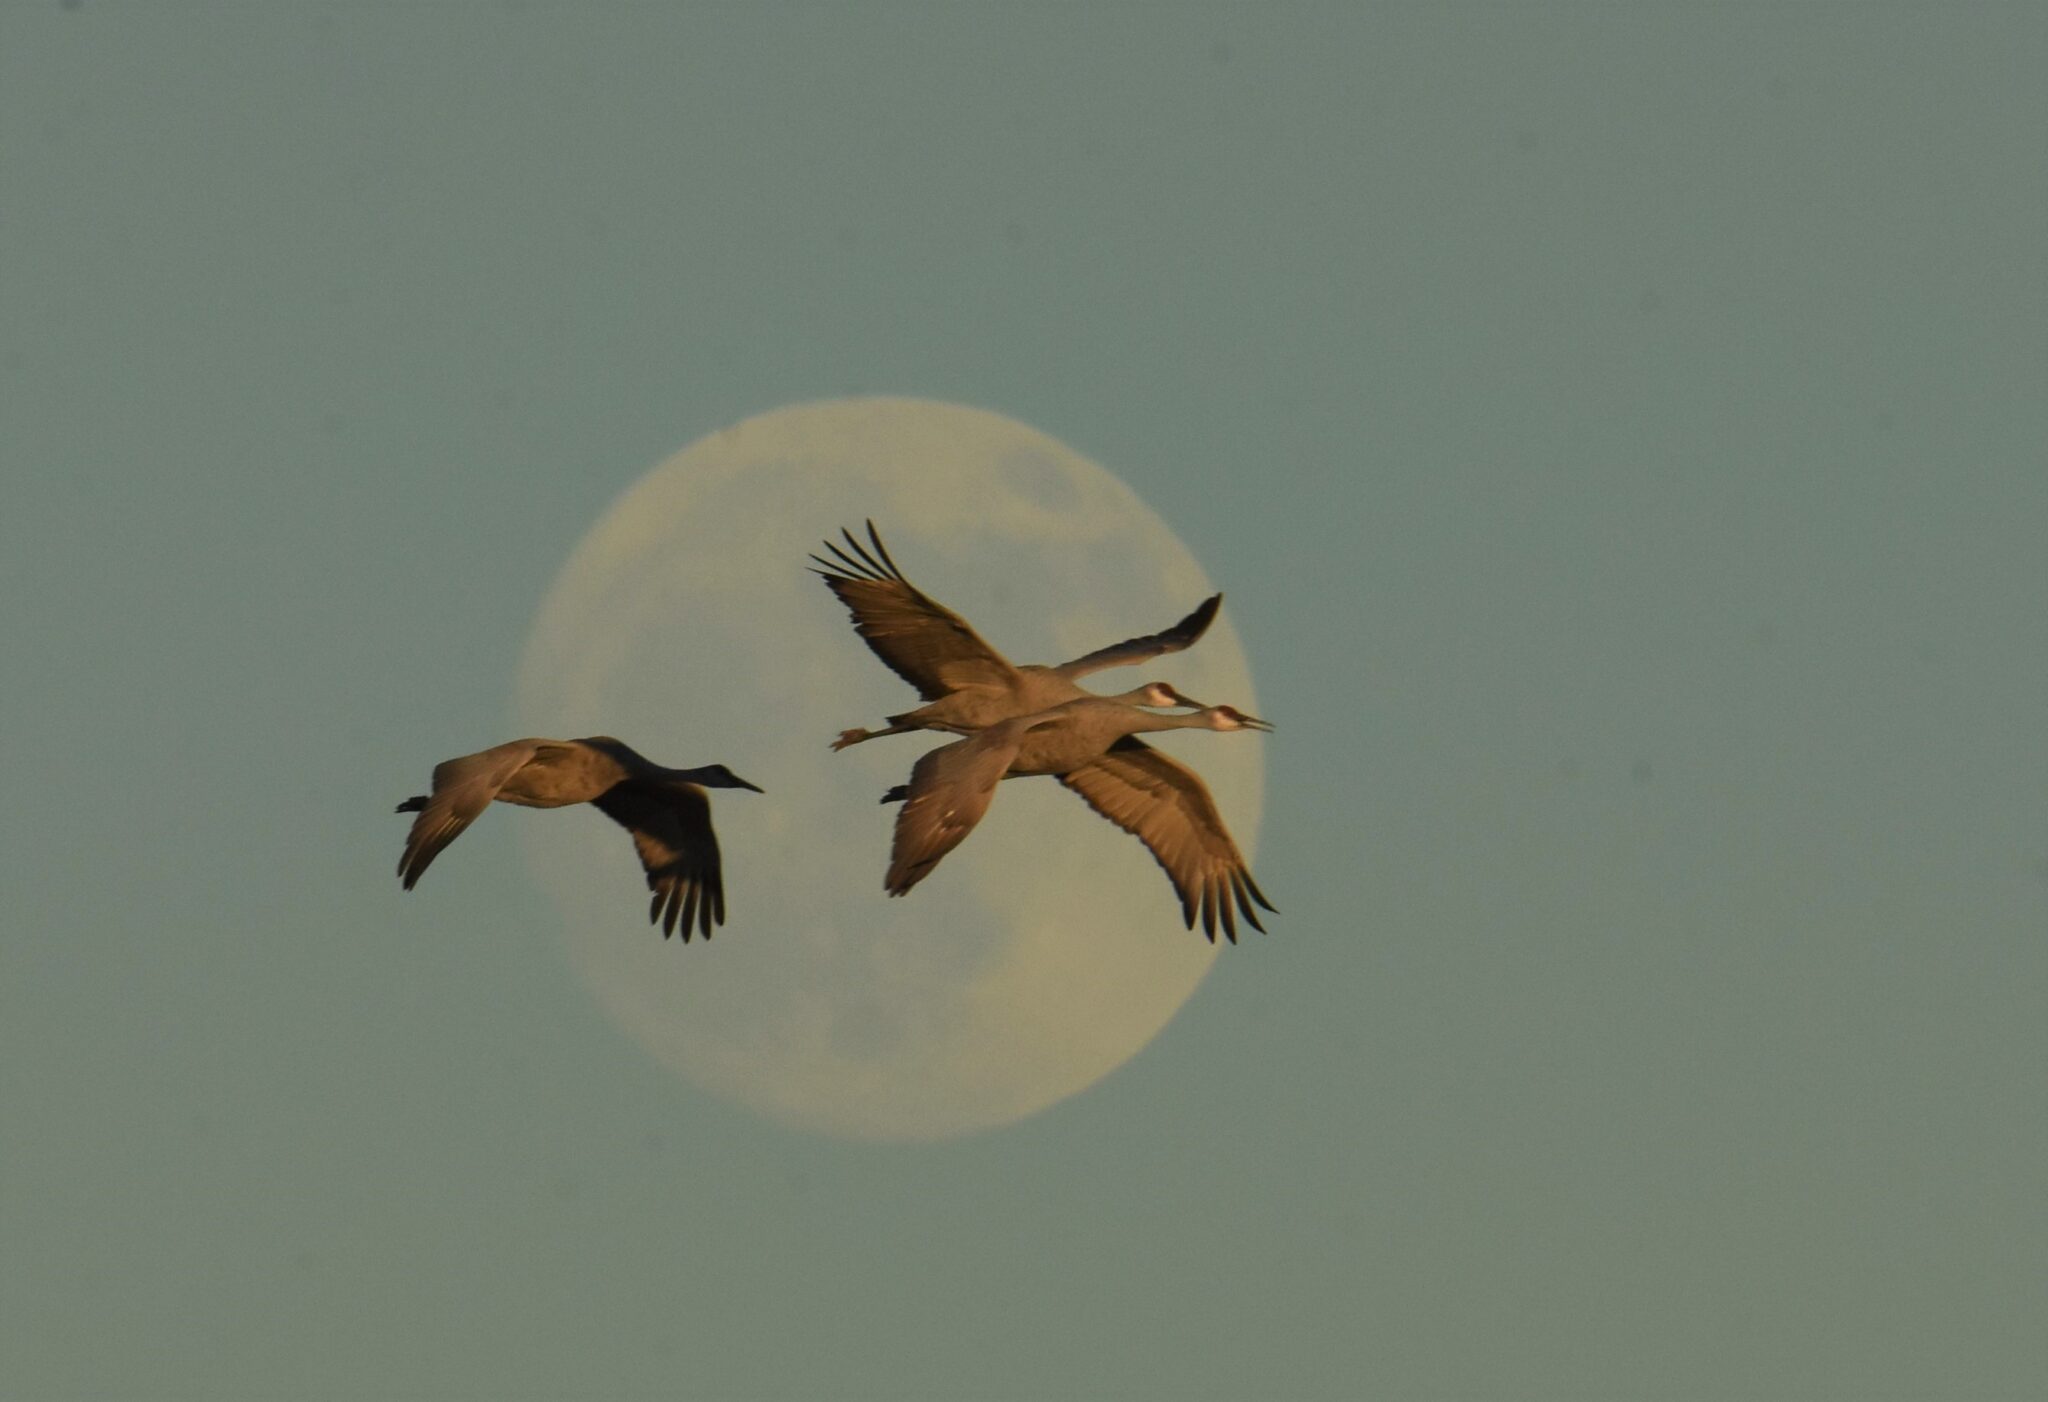
I was photographing at the north end of Bosque Del Apache near Socorro, New Mexico in November, and I was fixated on the thousands of Sandhill Cranes and Ross Geese feeding directly in front of me. As the cranes were leaving the field and heading back to the safety of water for the night, I panned their flight path. With my camera mounted on a Gimbal-style head atop of a heavy-duty tripod, I started taking images directly in front of me and then rotated the camera 90 degrees to my right as they flew away. In doing so, I inadvertently noticed that the moon rise was before sunset and that by following the birds flight path, some of them were flying directly between the full moon and myself. I’d like to say I planned it this way, but I was lucky to be in the right place at the right time. Had I not viewed my surroundings and continued to shoot just in front of me, I would have missed this golden opportunity to catch both the cranes and geese with the moon in the background.

